Your First App
Developing applications in PlayCanvas is easy and fun. Let's spend a few minutes learning the basics. We'll recreate the following simple 3D app:
Use the arrow keys to move the red ball around.
To begin, navigate to your PROJECTS page.
Select the NEW button to create a new project:
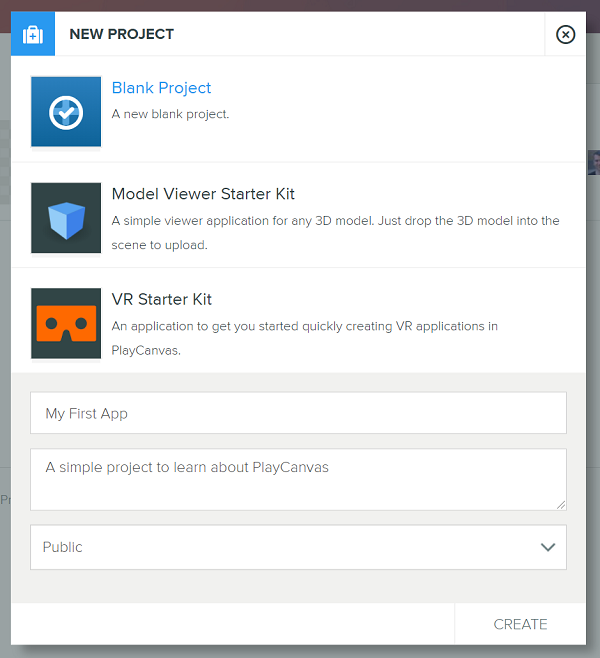
Enter My First App as the project name. The description is optional and can be filled out later. Hit CREATE.
With your project created, we can dive right into the Editor - simply hit the EDITOR button:
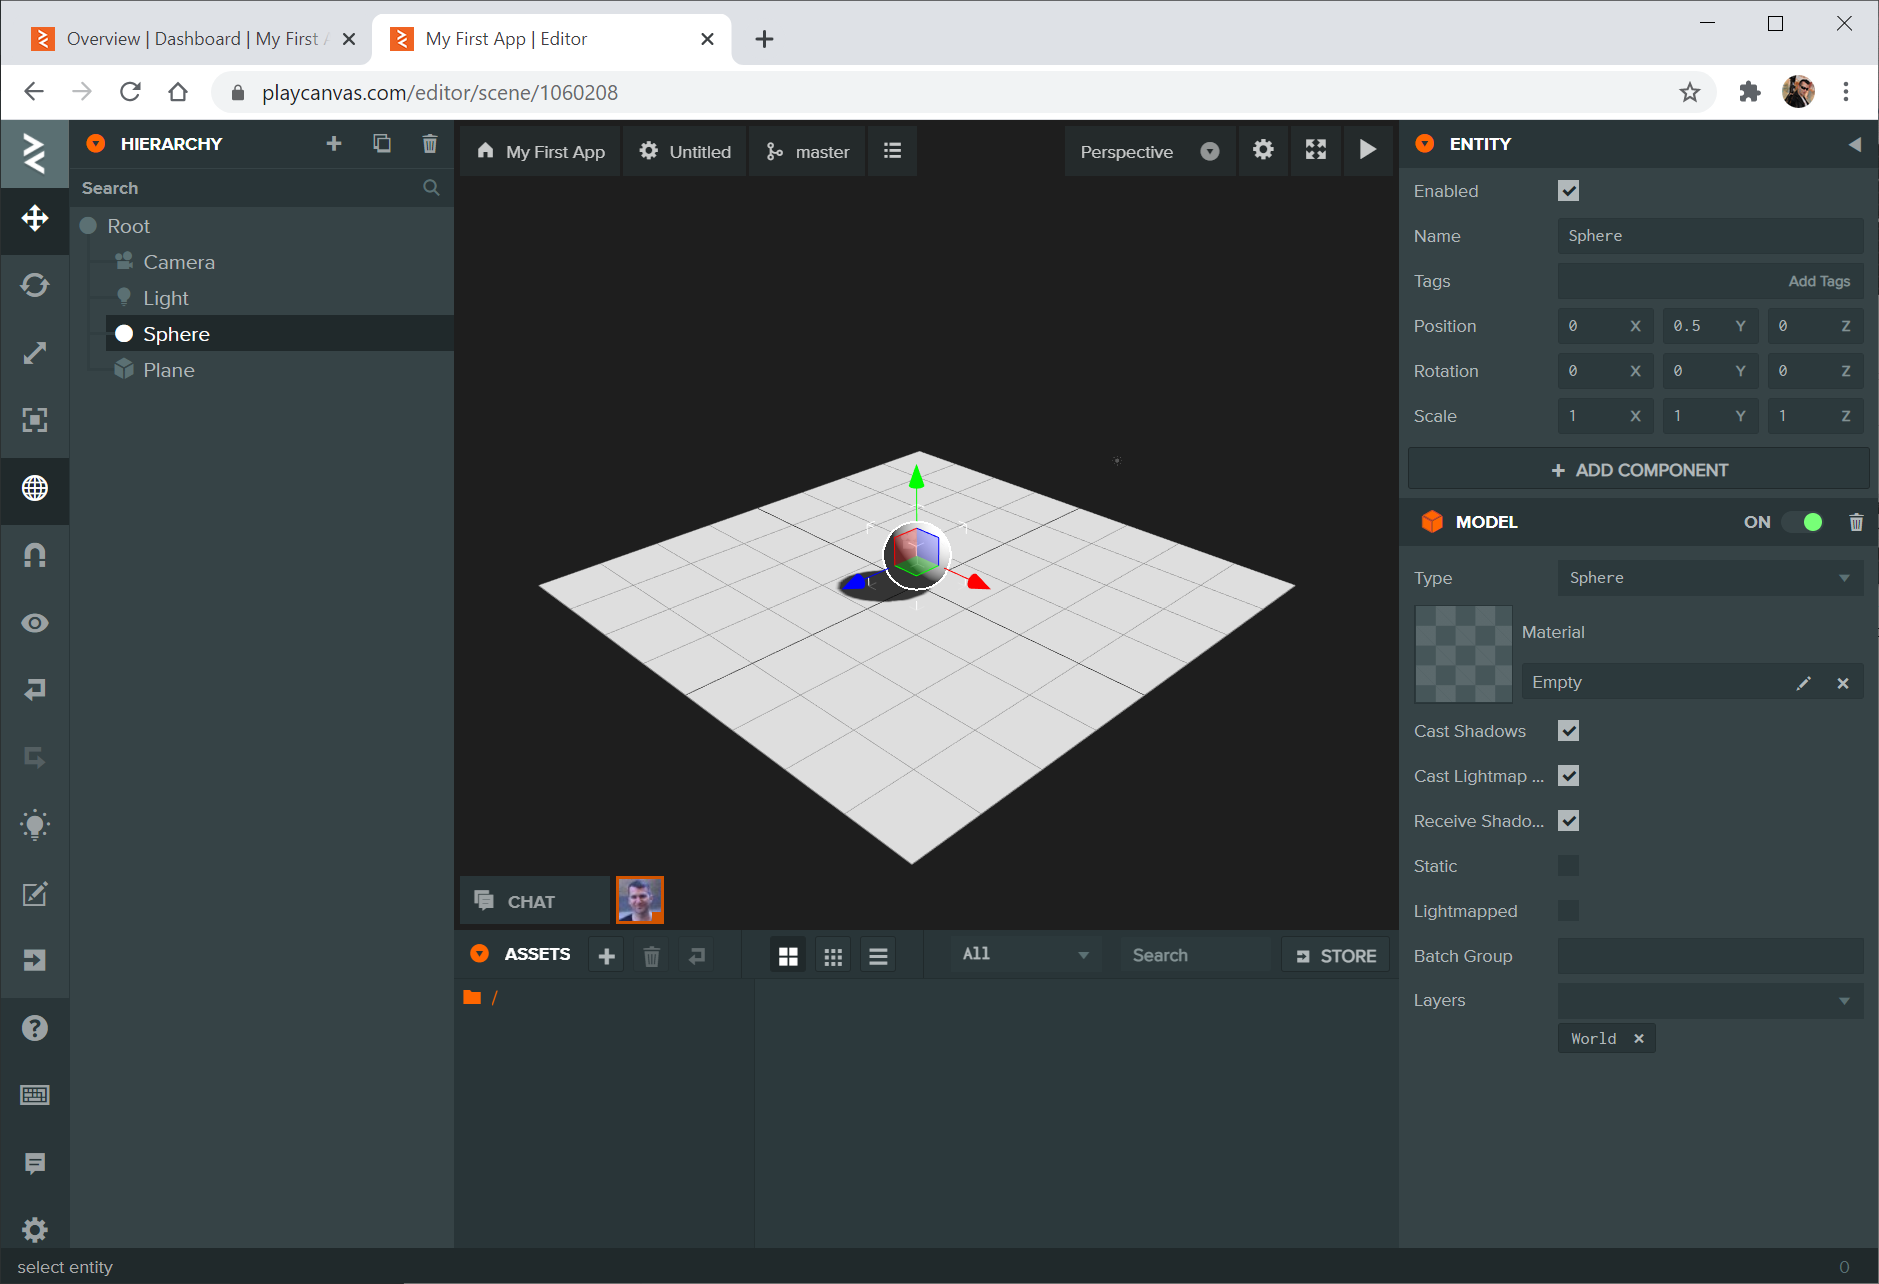
When you first open the Editor, you should find that a minimal scene has been created for you:
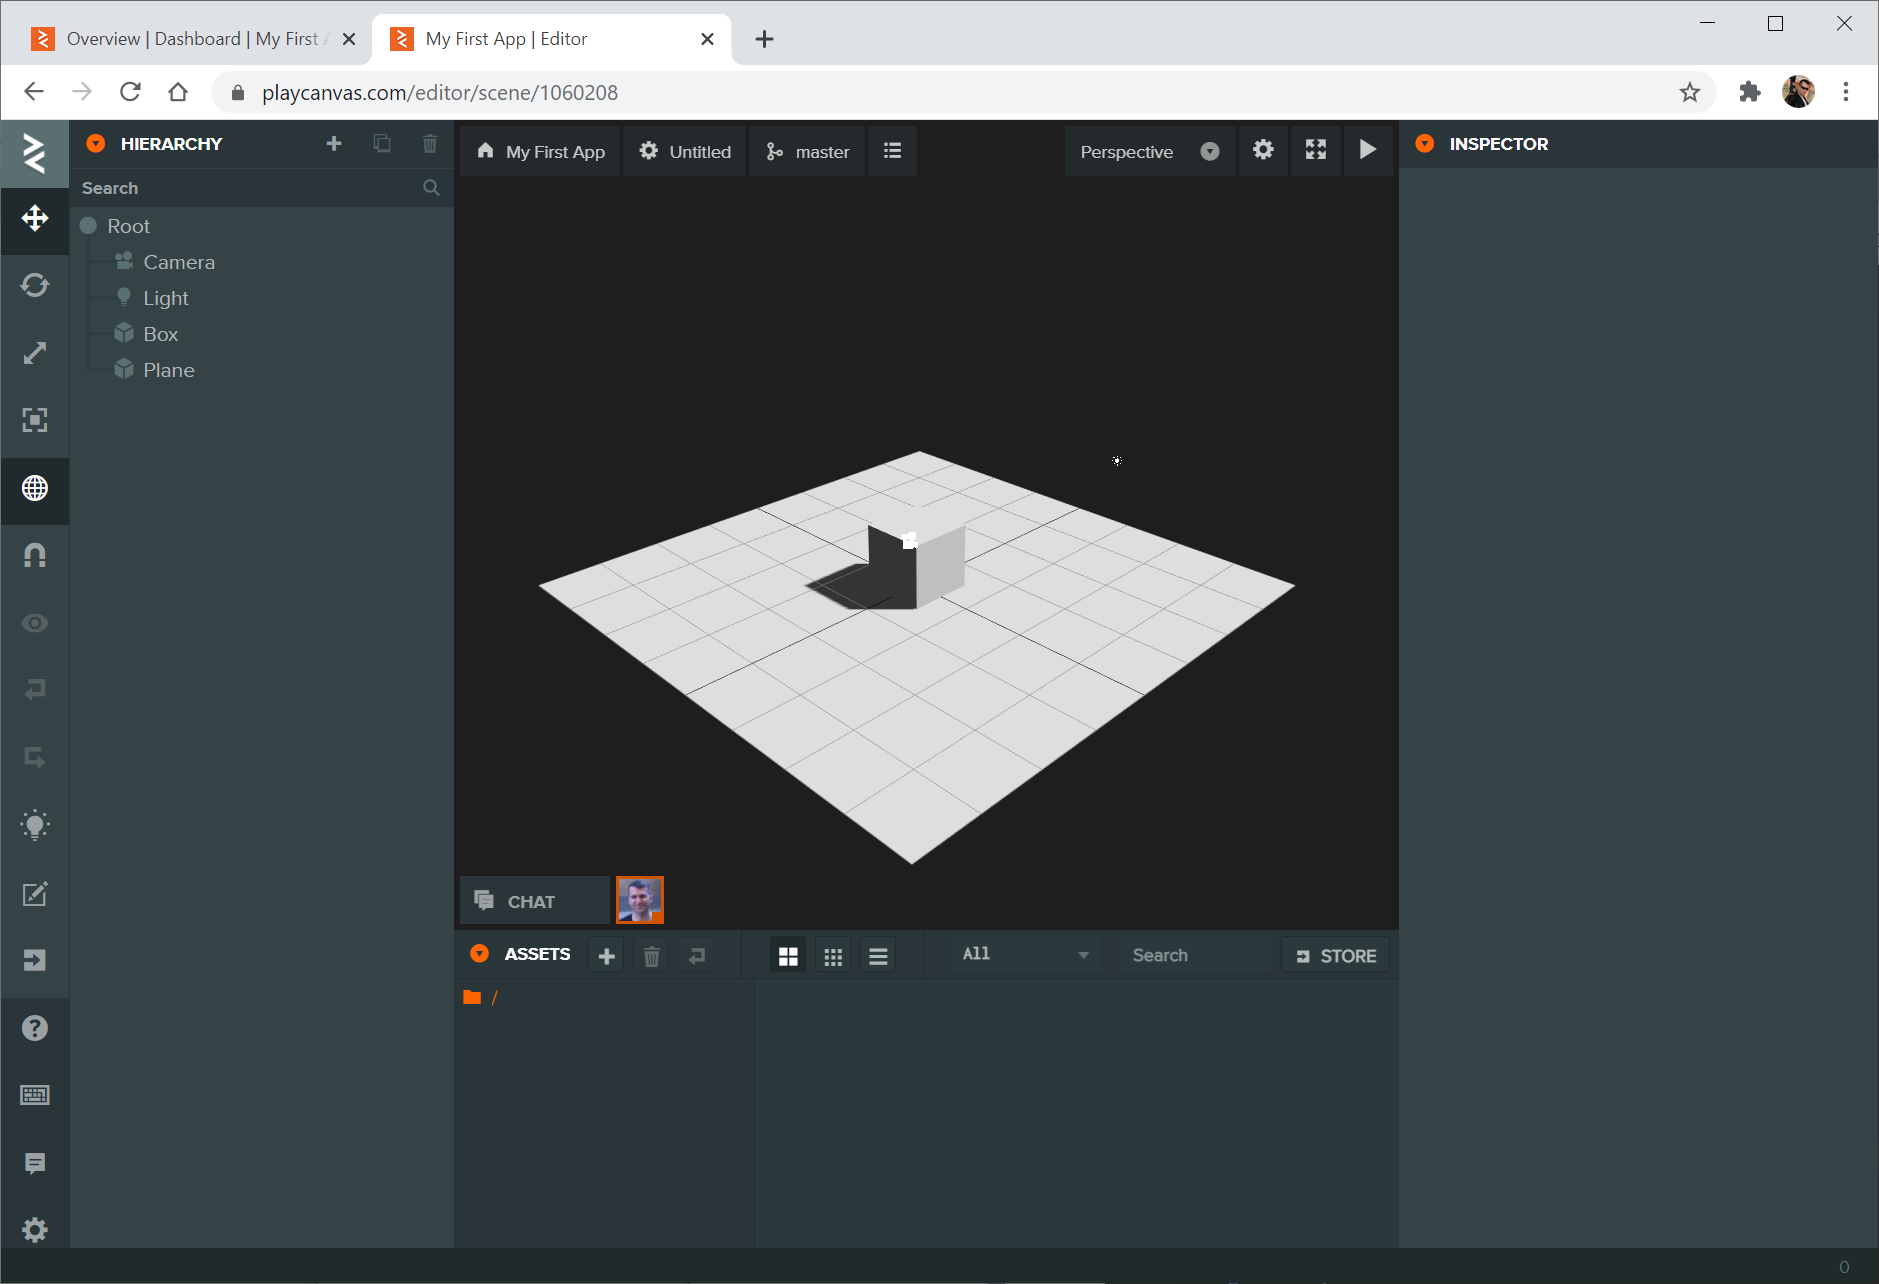
Specifically, you have a camera (to render the scene), a box sitting on a plane and a light (to illuminate the 3D objects).
You can easily change the box to another shape, like a sphere. To do this, select the Box entity in the HIERARCHY panel. In the Inspector panel on the right, change the Type property of the MODEL component from Box to Sphere. To be complete, rename the Entity from Box to Sphere too!
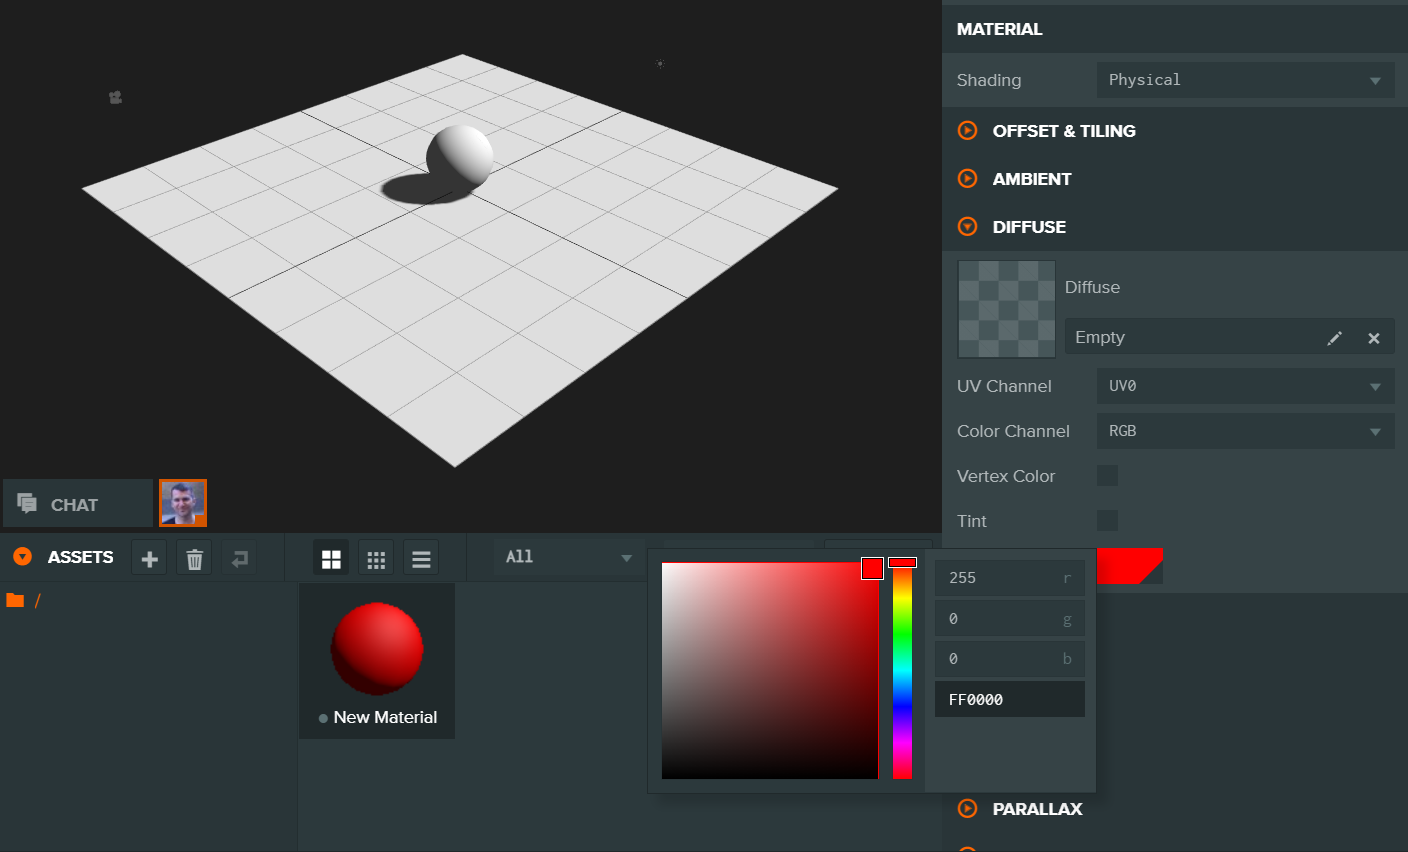
But our sphere is a slightly boring gray color. Let's color it red! To do this, we must create a material by hitting the + icon in the ASSETS panel:

Select the material and its properties will appear in the Inspector panel to the right. Expand the DIFFUSE section and click on the color swatch to edit the color to red:
Next, we must assign the material to the sphere. You can do this with a simple drag and drop operation:
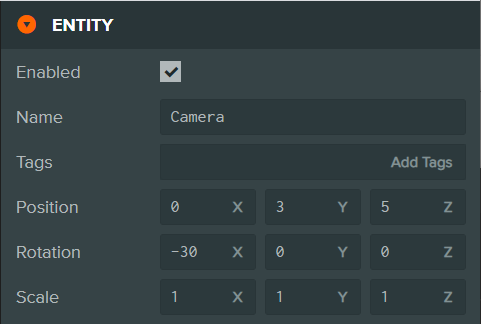
Now let's set up the Camera entity. Select it in the HIERARCHY panel:
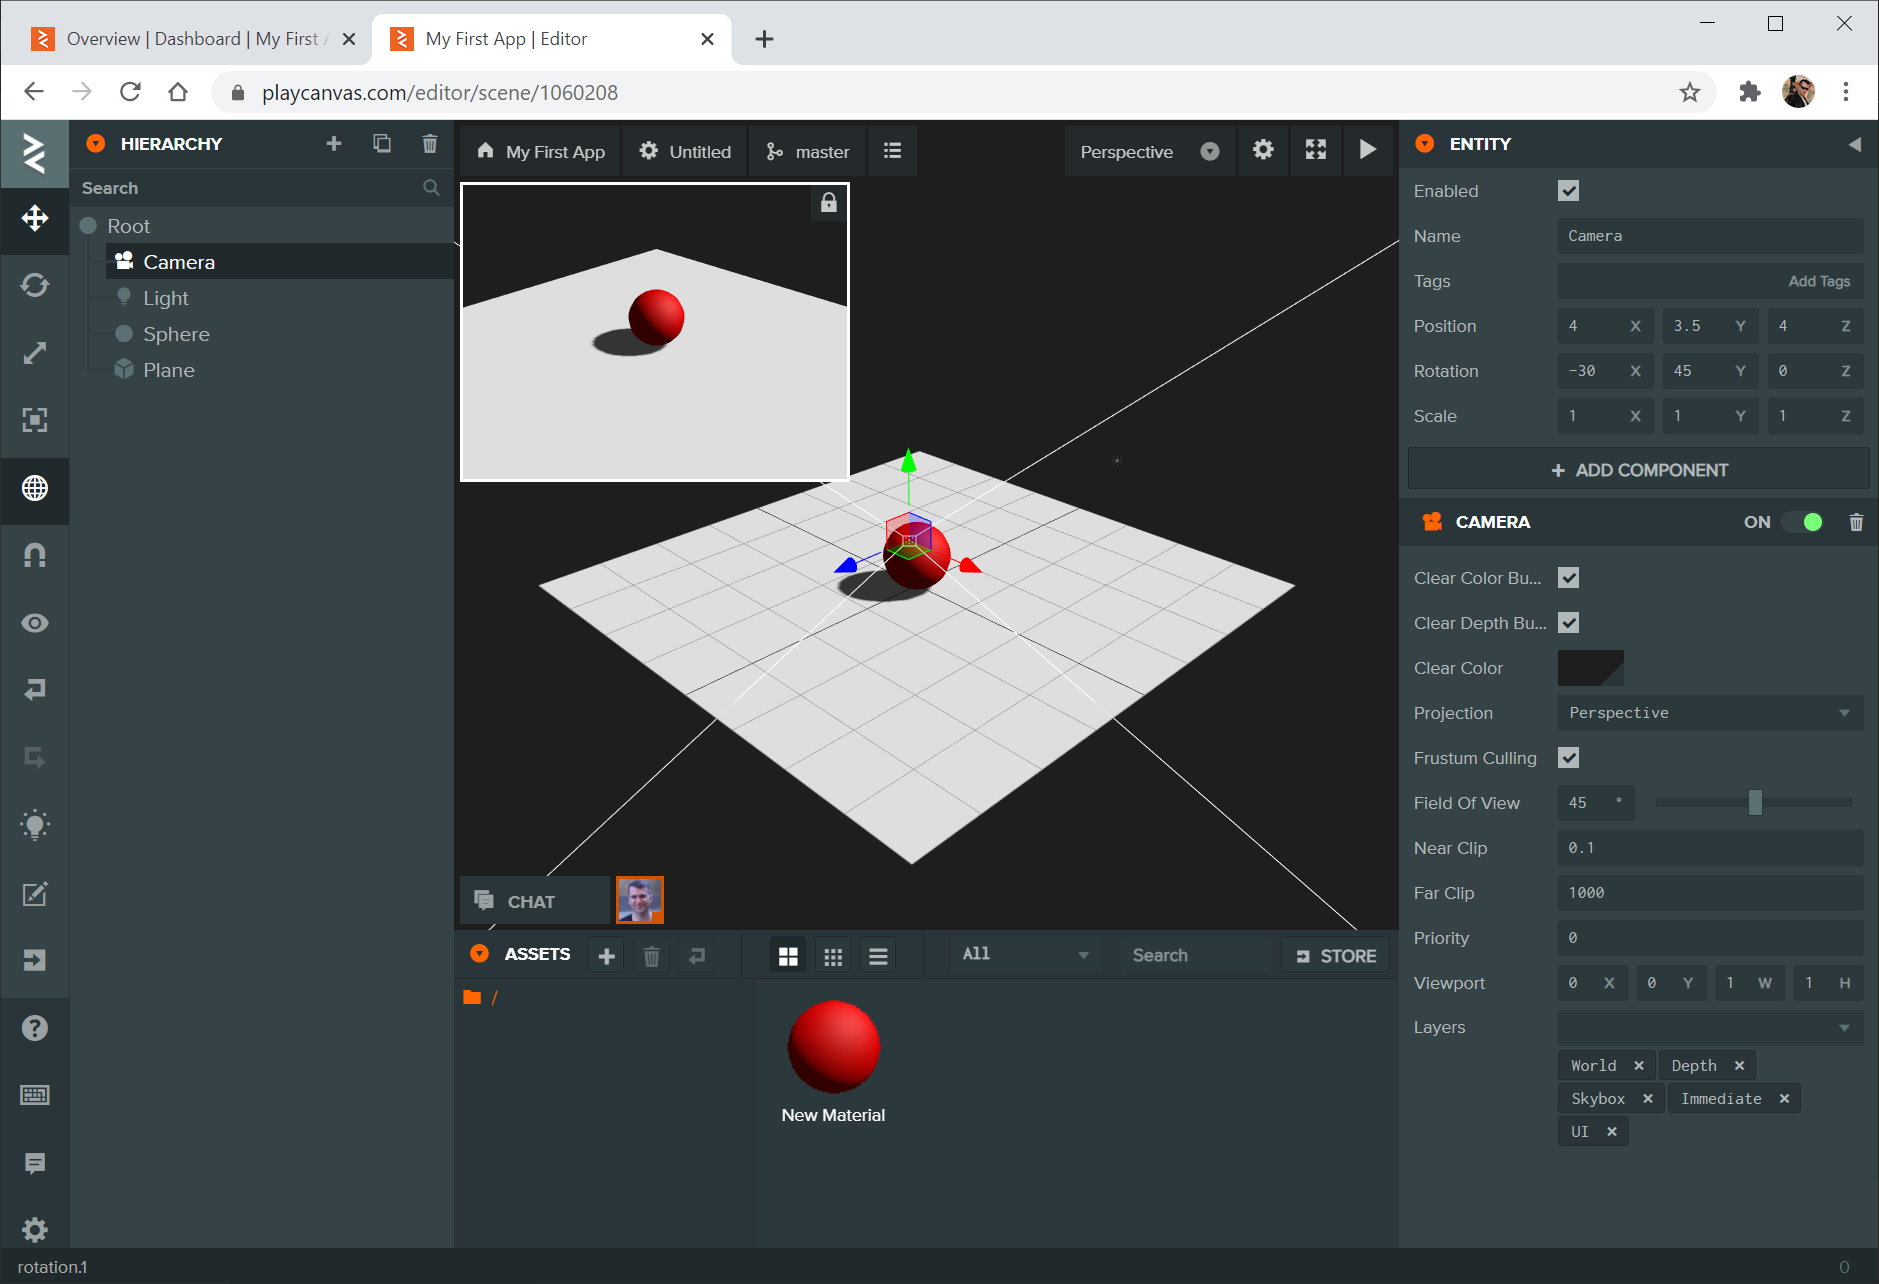
Notice the little preview window that has appeared for the selected camera. Let's edit the camera's position and rotation to view the cube from directly in front. Edit the camera's position and rotation with the values below:
Next, let's make the sphere controllable with the arrow keys on the keyboard. To do this, we must create a script. Right click the Sphere
entity and select Add Component -> Script.

A script component will appear in the Inspector on the Sphere entity. To create a script asset on the script component, enter the name
movement.js.
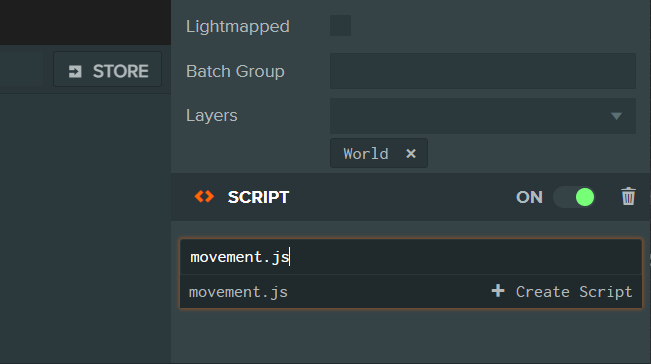
Hit Enter and your script will be created.
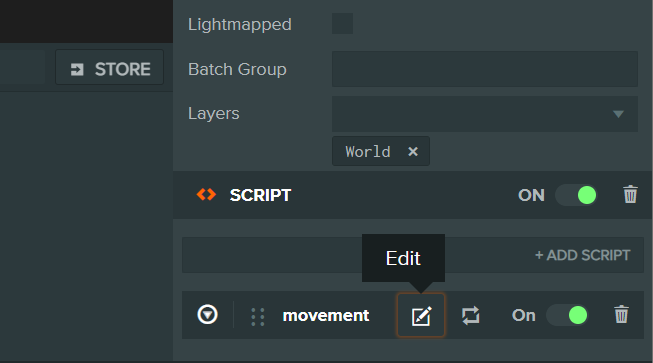
Now hit EDIT to open the Code Editor. You'll see the following skeleton script:
var Movement = pc.createScript('movement');

// initialize code called once per entity
Movement.prototype.initialize = function() {

};

// update code called every frame
Movement.prototype.update = function(dt) {

};
To make the sphere controllable, let's add some code to the update function. Copy and paste the code below:
var Movement = pc.createScript('movement');

// initialize code called once per entity
Movement.prototype.initialize = function() {

};

// update code called every frame
Movement.prototype.update = function(dt) {
    // get which keys are pressed
    var keyboard = this.app.keyboard;
    var left  = keyboard.isPressed(pc.KEY_LEFT);
    var right = keyboard.isPressed(pc.KEY_RIGHT);
    var up    = keyboard.isPressed(pc.KEY_UP);
    var down  = keyboard.isPressed(pc.KEY_DOWN);

    // move this entity based on which keys are pressed
    // dt is the time in seconds since the last frame and stands for 'delta time'
    if (left) {
        this.entity.translate(-dt, 0, 0);
    }
    if (right) {
        this.entity.translate(dt, 0, 0);
    }
    if (up) {
        this.entity.translate(0, 0, -dt);
    }
    if (down) {
        this.entity.translate(0, 0, dt);
    }
};
When the code is updated, save the script using CTRL+S (or CMD+S on Mac) and close the Code Editor tab.
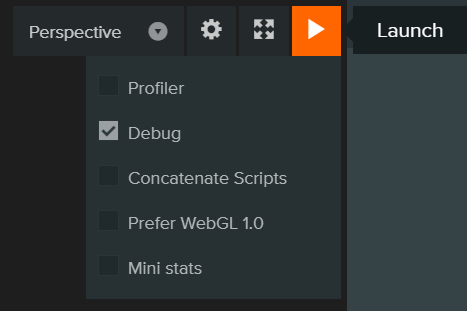
You are now ready to preview your app by opening the Launch page. To do this, hit the Launch button in the top right of the Editor's 3D view.
The Launch page opens in a new tab. When it opens, try pressing the 4 arrow keys to move the sphere around.
The final step is to publish your app so you can share it with others. To do this, click on the button in the left hand side toolbar.
This will open up the Publishing dialog. Here you can publish a build (or even download a build for self-hosting).
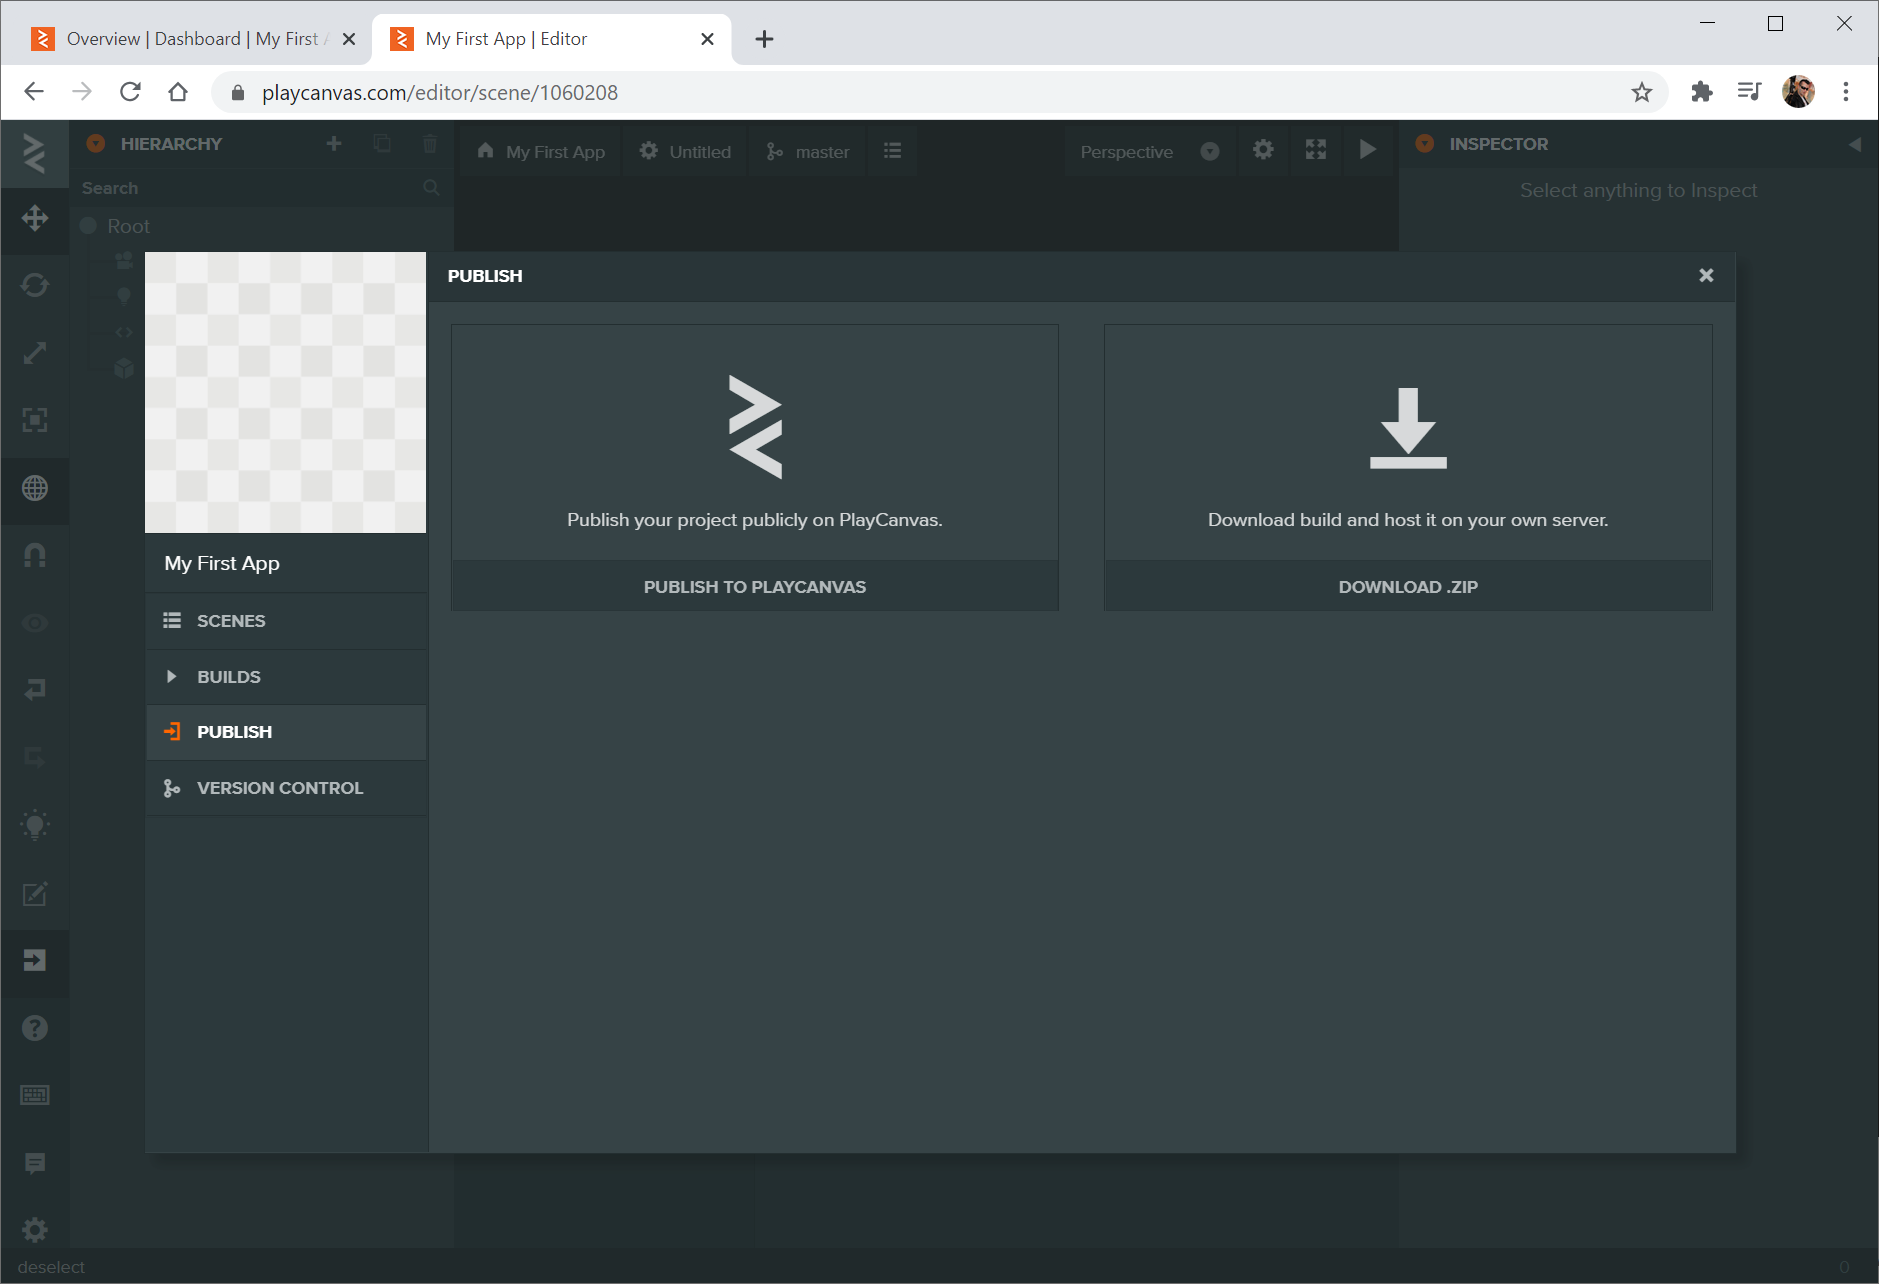
Click the PUBLISH TO PLAYCANVAS option. You can then configure your published app.
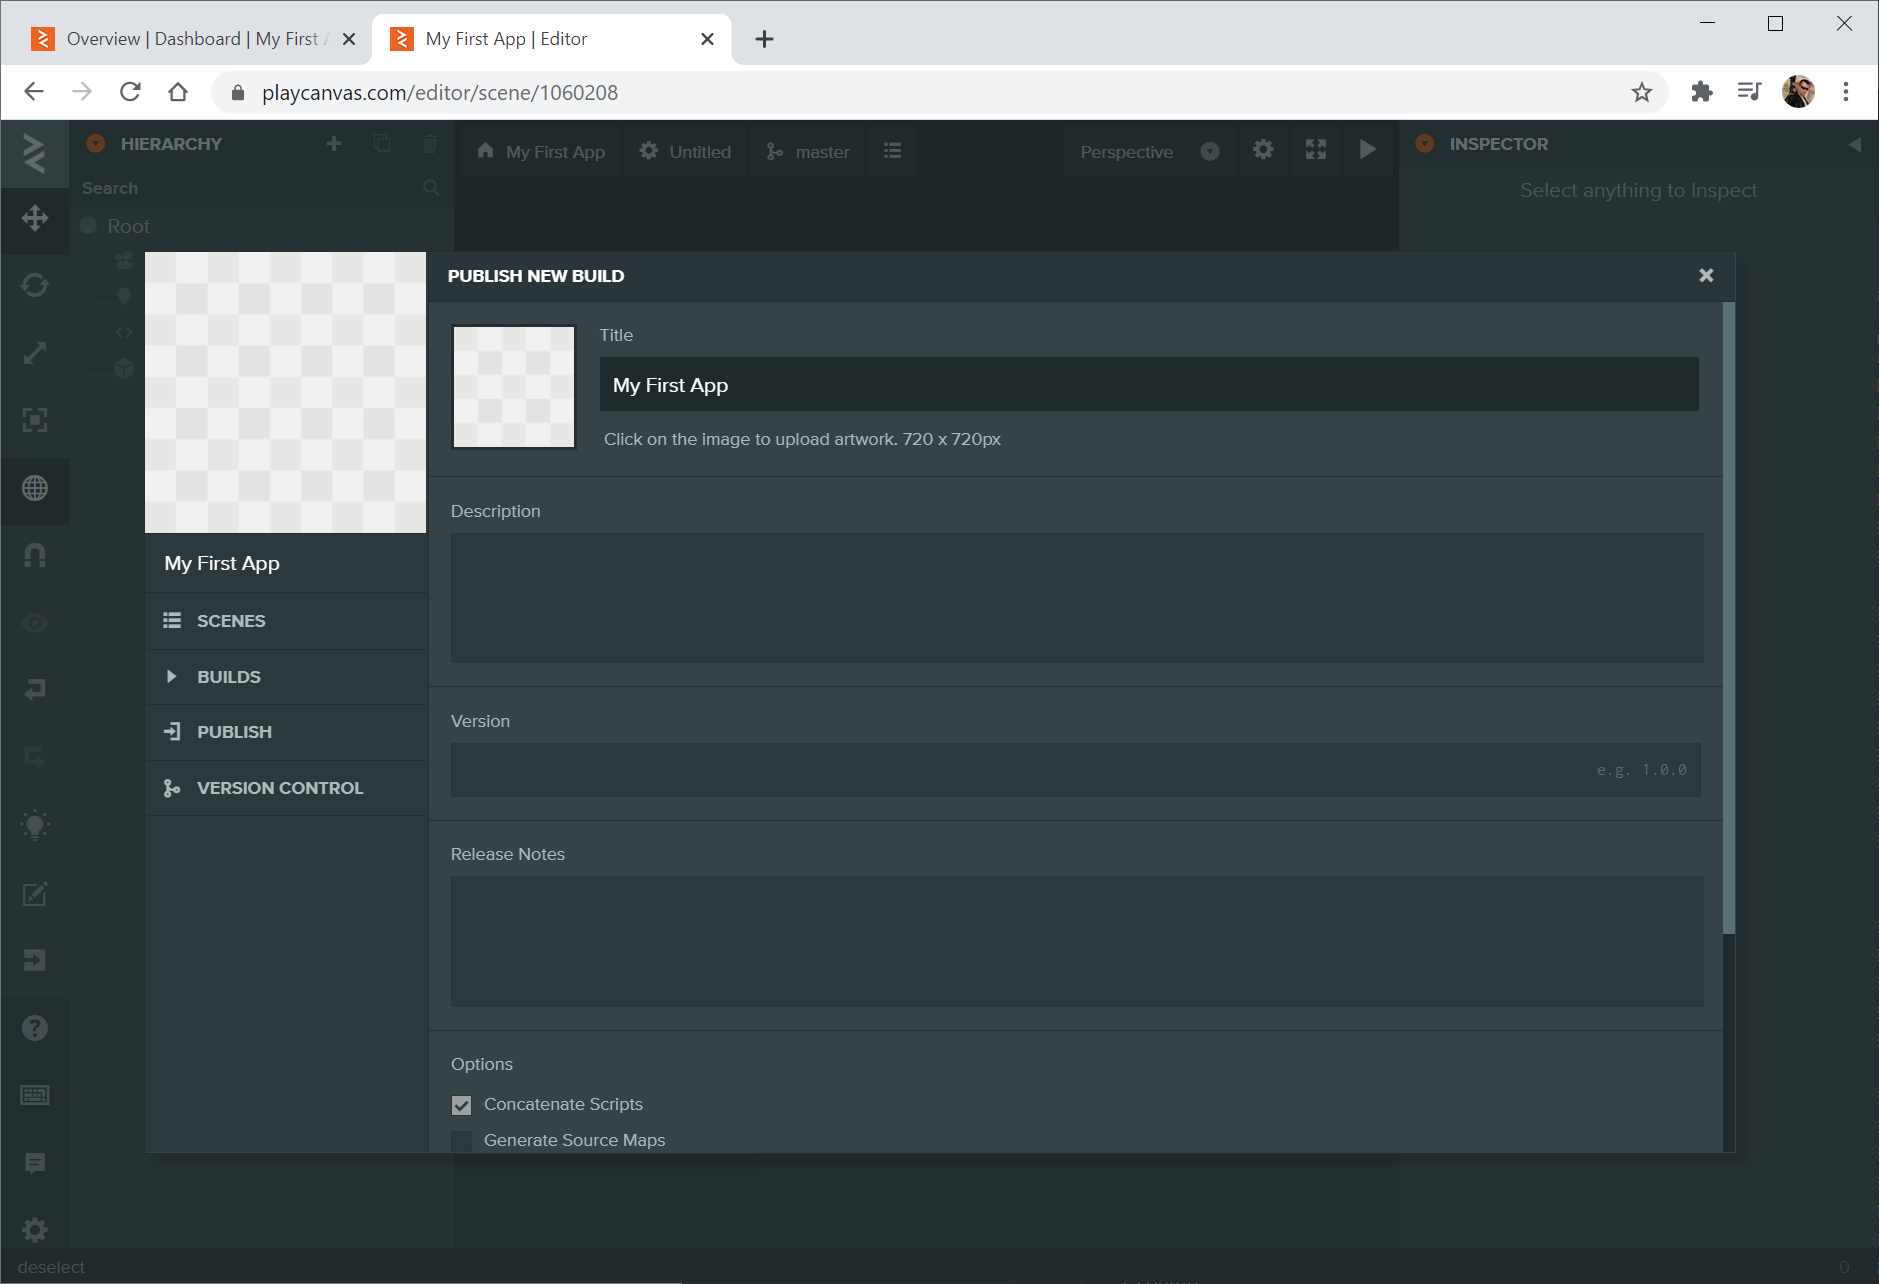
Leave the defaults, scroll down and select PUBLISH NOW.
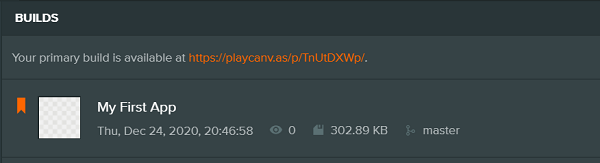
You now have a URL for your published build! Feel free to share it with the world on Twitter or Facebook!
And so, that is the process from start to finish for building and publishing a PlayCanvas application. In this quick introduction, we have touched on the basics. Now explore the rest of the User Manual to learn some more advanced topics. Good luck and have fun!