Migration Guide
Migrating Legacy Script Projects
In July 2016, PlayCanvas adopted its current scripting system (sometimes known as Scripts 2.0). Legacy script projects continue to work as normal. However, it is no longer possible to fork or create new legacy script projects.
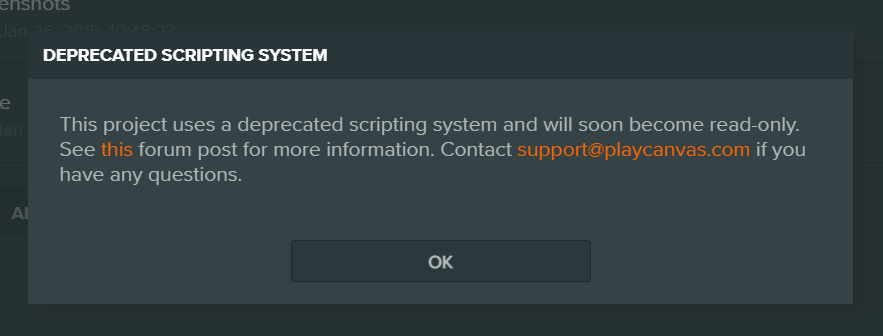
In December 2020, it was announced that legacy script projects would be made read-only in the near future. When you open one in the Editor, you will see the following message in the project dashboard:

And the following message in the Editor:
If you want to continue to work on legacy script projects, we recommend that you migrate them to the current format. Unfortunately, there is no automated migration process for this. Instead, it is a manual process, but this guide will walk you through it.
Step 1 - Create a New Project
We will begin by creating a new, blank project to transfer assets and code into. Delete the four entities created by default below the scene root entity.
Step 2 - Transfer Assets
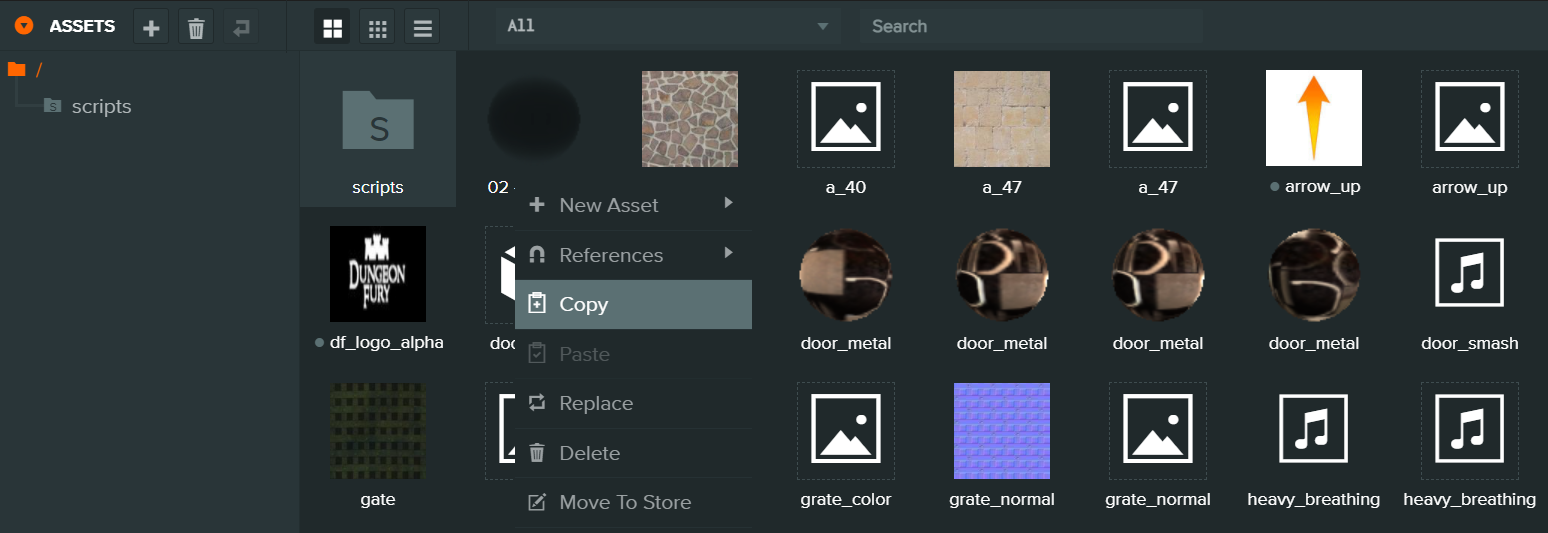
Next, copy all assets to your new project (minus scripts which in legacy projects are not true assets). It is possible to copy and paste assets from one project to another (using the right-click context menu).
However, legacy script projects are quite old. Years ago, assets were imported without file extensions and some metadata might not be available to view in the Inspector panel. So you might want to consider downloading your source assets and uploading them to your new project.
Step 3 - Transfer Scripts
Download the scripts from your legacy script project via the Project Dashboard:

If your legacy project is connected to a GitHub repo, download your scripts from there.
You can now upload the legacy scripts to your new project.
Step 4 - Update Scripts to Current Format
The transferred scripts in your new project will now need to be updated to the current format. Here is an example, showing the legacy format:
pc.script.attribute('speed', 'number', 10);

pc.script.create('myScript', function (app) {
    // Creates a new MyScript instance
    var MyScript = function (entity) {
        this.entity = entity;
    };

    MyScript.prototype = {
        // Called once after all resources are loaded and before the first update
        initialize: function () {
        },

        // Called every frame, dt is time in seconds since last update
        update: function (dt) {
        }
    };

    return MyScript;
});
And here is the equivalent script in the current format:
var MyScript = pc.createScript('myScript');

MyScript.attributes.add('speed', { type: 'number', default: 10 });

// initialize code called once per entity
MyScript.prototype.initialize = function() {
    var app = this.app;       // application instance is available as this.app
    var entity = this.entity; // entity property already set up
};

// update code called every frame
MyScript.prototype.update = function(dt) {
};
Things to notice:
- There is no constructor in the current script format. Constructor code must be moved to the
initializefunction. app(thepc.Applicationinstance of the script) becomesthis.app.this.entityis automatically made available to current format scripts.
Migrating Script Events
Legacy scripts handle events like enable, disable and destroy as follows:
onEnable: function () {

},

onDisable: function () {

},

onDestroy: function () {

},
To migrate these to the current script format, you would register event handlers in the script's initialize function:
MyScript.prototype.initialize = function() {
    this.on("enable", function () {

    });

    this.on("disable", function () {

    });

    this.on("destroy", function () {

    });
};
Step 5 - Transfer Scene Hierarchy
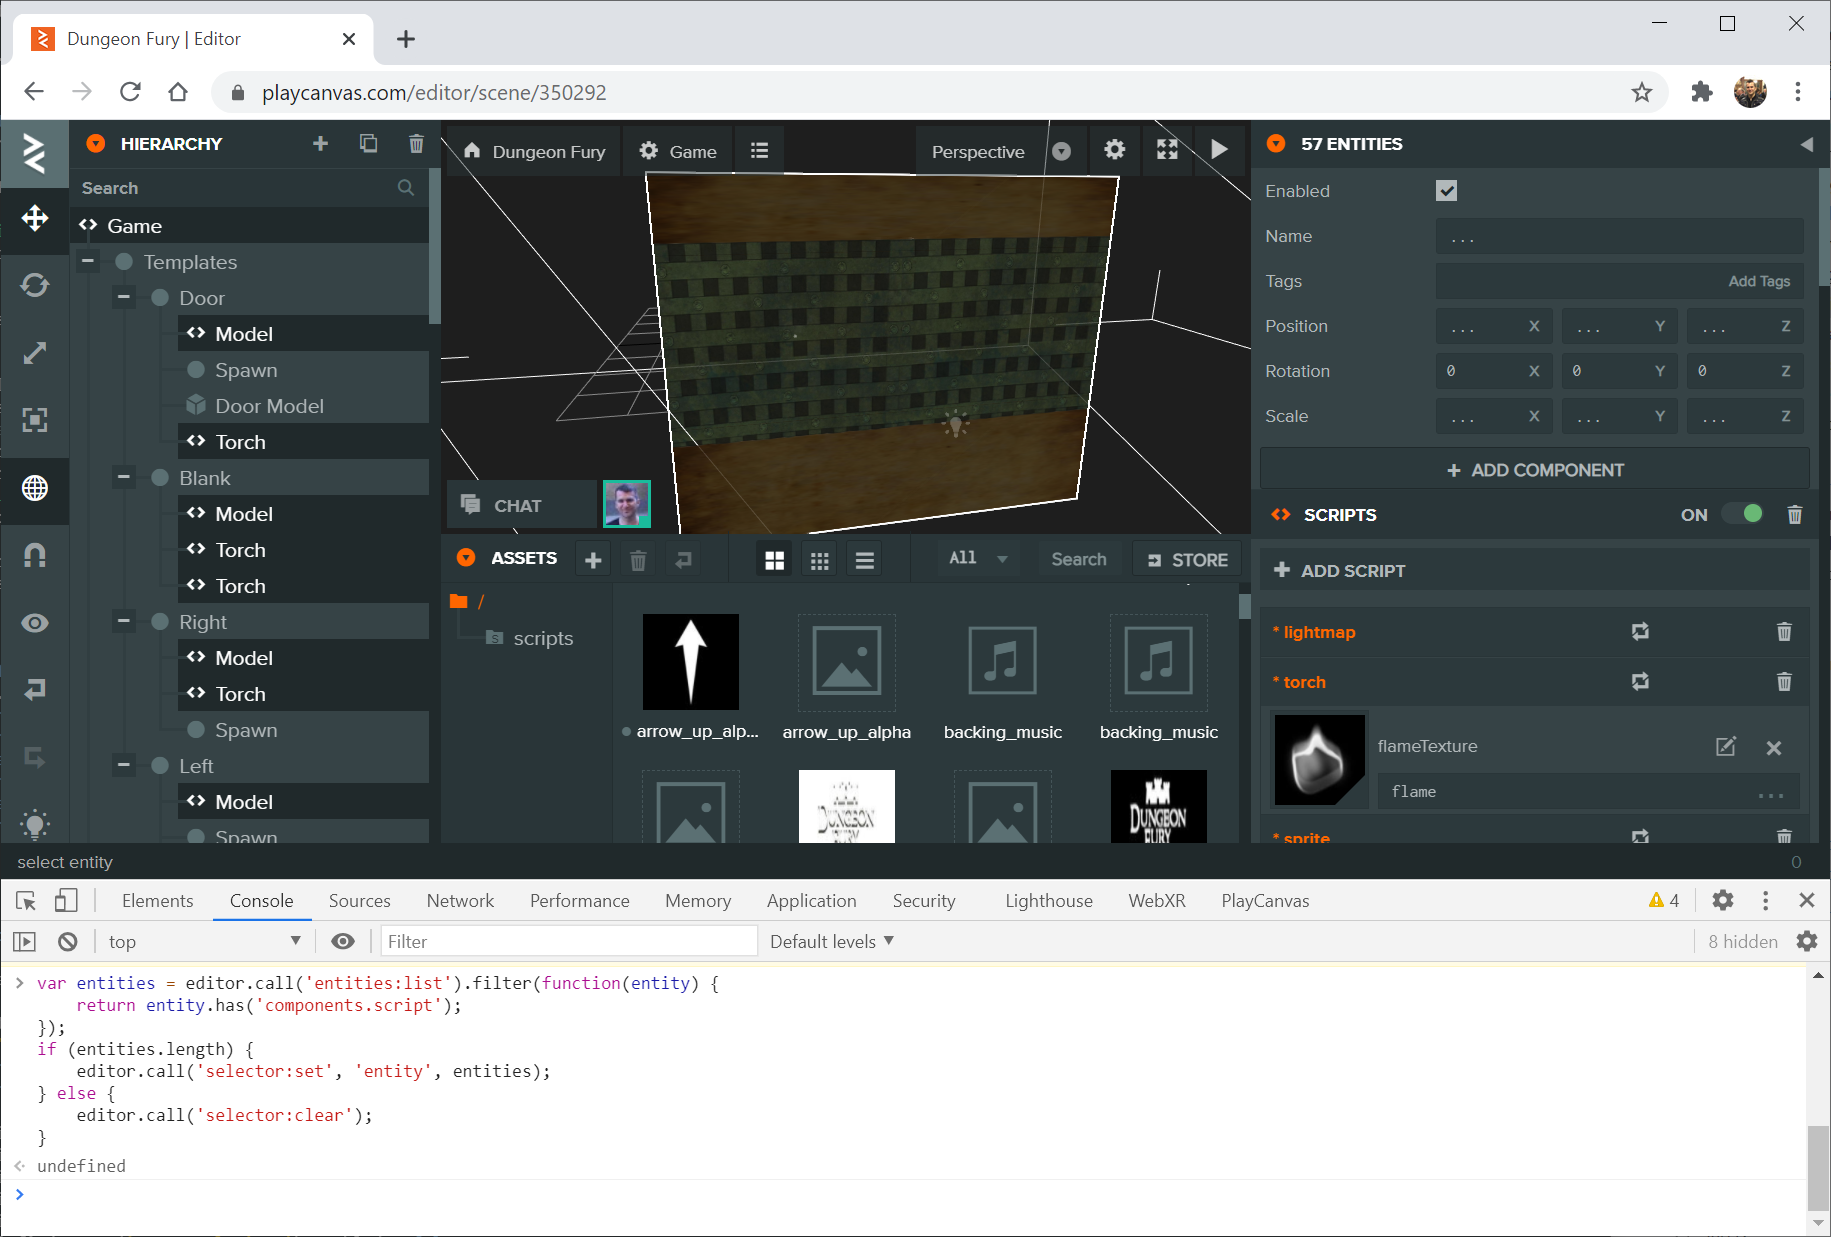
Next, we will transfer the legacy project's scene hierarchy across. The PlayCanvas Editor supports a copy and paste operation between two Editor instances. However, this operation fails if legacy script components are in the selection. Therefore, you should first delete all script components from your legacy script project. To do this, select all entities with legacy script components. You can do this by running the following JavaScript in the browser's JavaScript console:
var entities = editor.call('entities:list').filter(function(entity) {
    return entity.has('components.script');
});
if (entities.length) {
    editor.call('selector:set', 'entity', entities);
} else {
    editor.call('selector:clear');
}
You should see something like the following:
You can then hit the delete button in the Inspector:

Now you can successfully copy and paste your game's hierarchy from the read-only project to the new destination project.
With this done, you can hit CTRL+Z (CMD+Z on Mac) to undo the previous deletion of your legacy script components.
Reselect all entities that have a script component. Create a script component on every corresponding entity in the new project and add the corresponding scripts to those components. Finally, iterate through every script attribute on every script on every script component and copy its value over to the new project.
You should now be done with the migration.