PlayCanvas Hosting
The fastest, easiest, most convenient way to publish your game is to publish it to playcanvas.com.
Publishing to PlayCanvas consists of two simple steps:
- Publish a new Build
- Set the build as the Primary Build
To publish you will need to have at least one scene in your project.
Publishing a new Build
- Go to your Project and open the Editor.
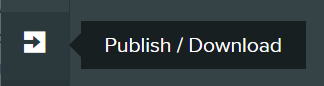
- Click on the button in the left hand side toolbar or click Publishing in the top left Menu
- This will open up the Publishing dialog. Here you can publish a build or download a build for self-hosting.
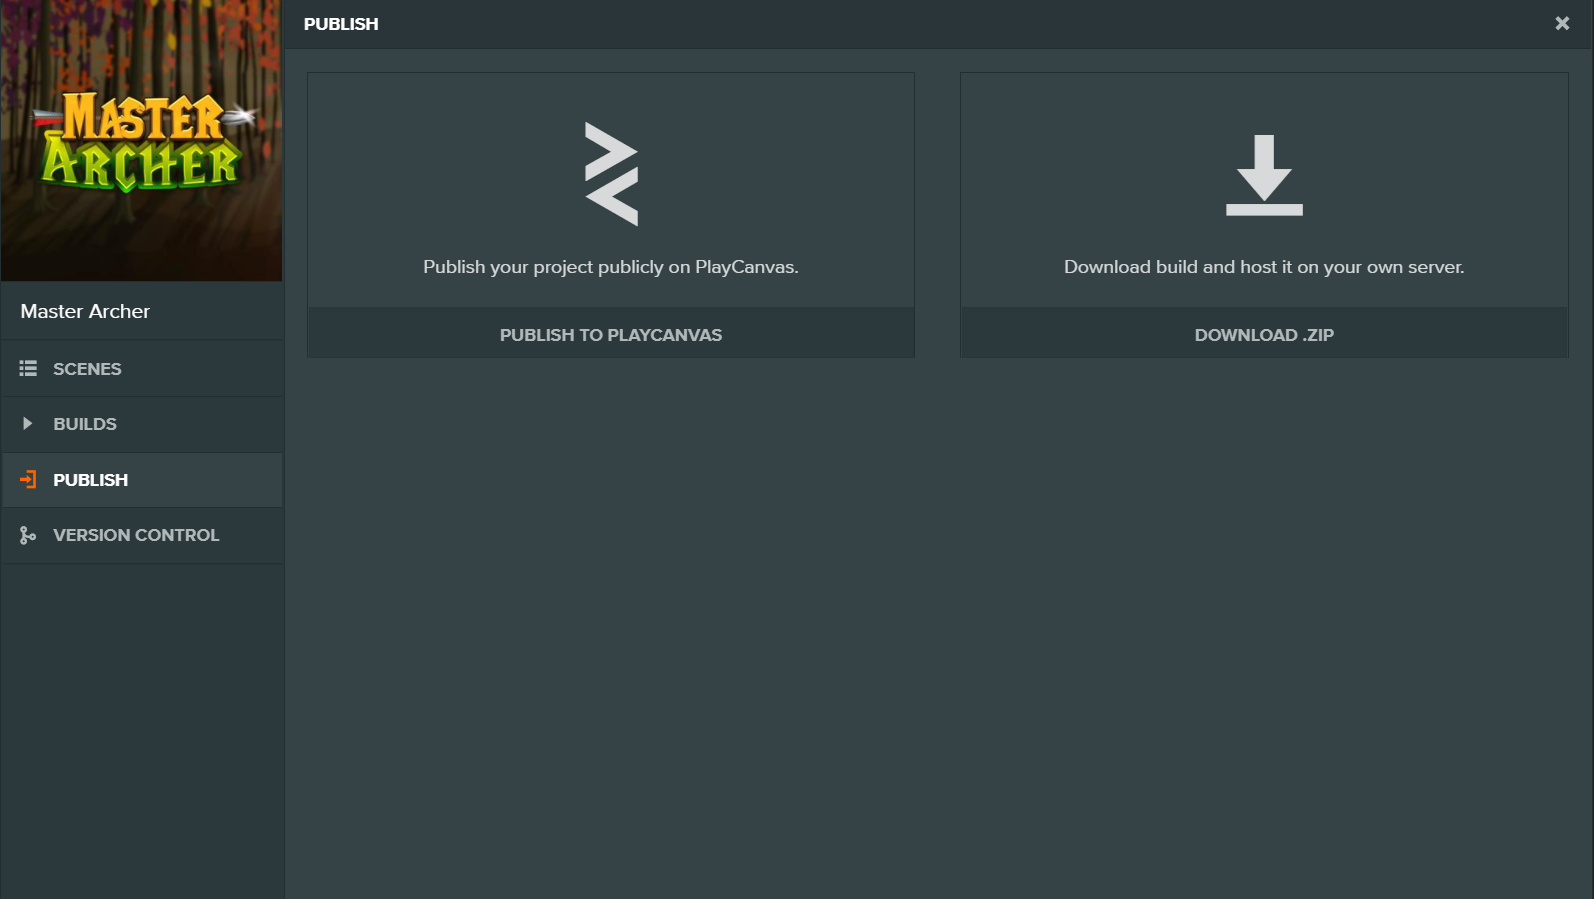
- Click the PUBLISH button next to "Publish on PlayCanvas".
-
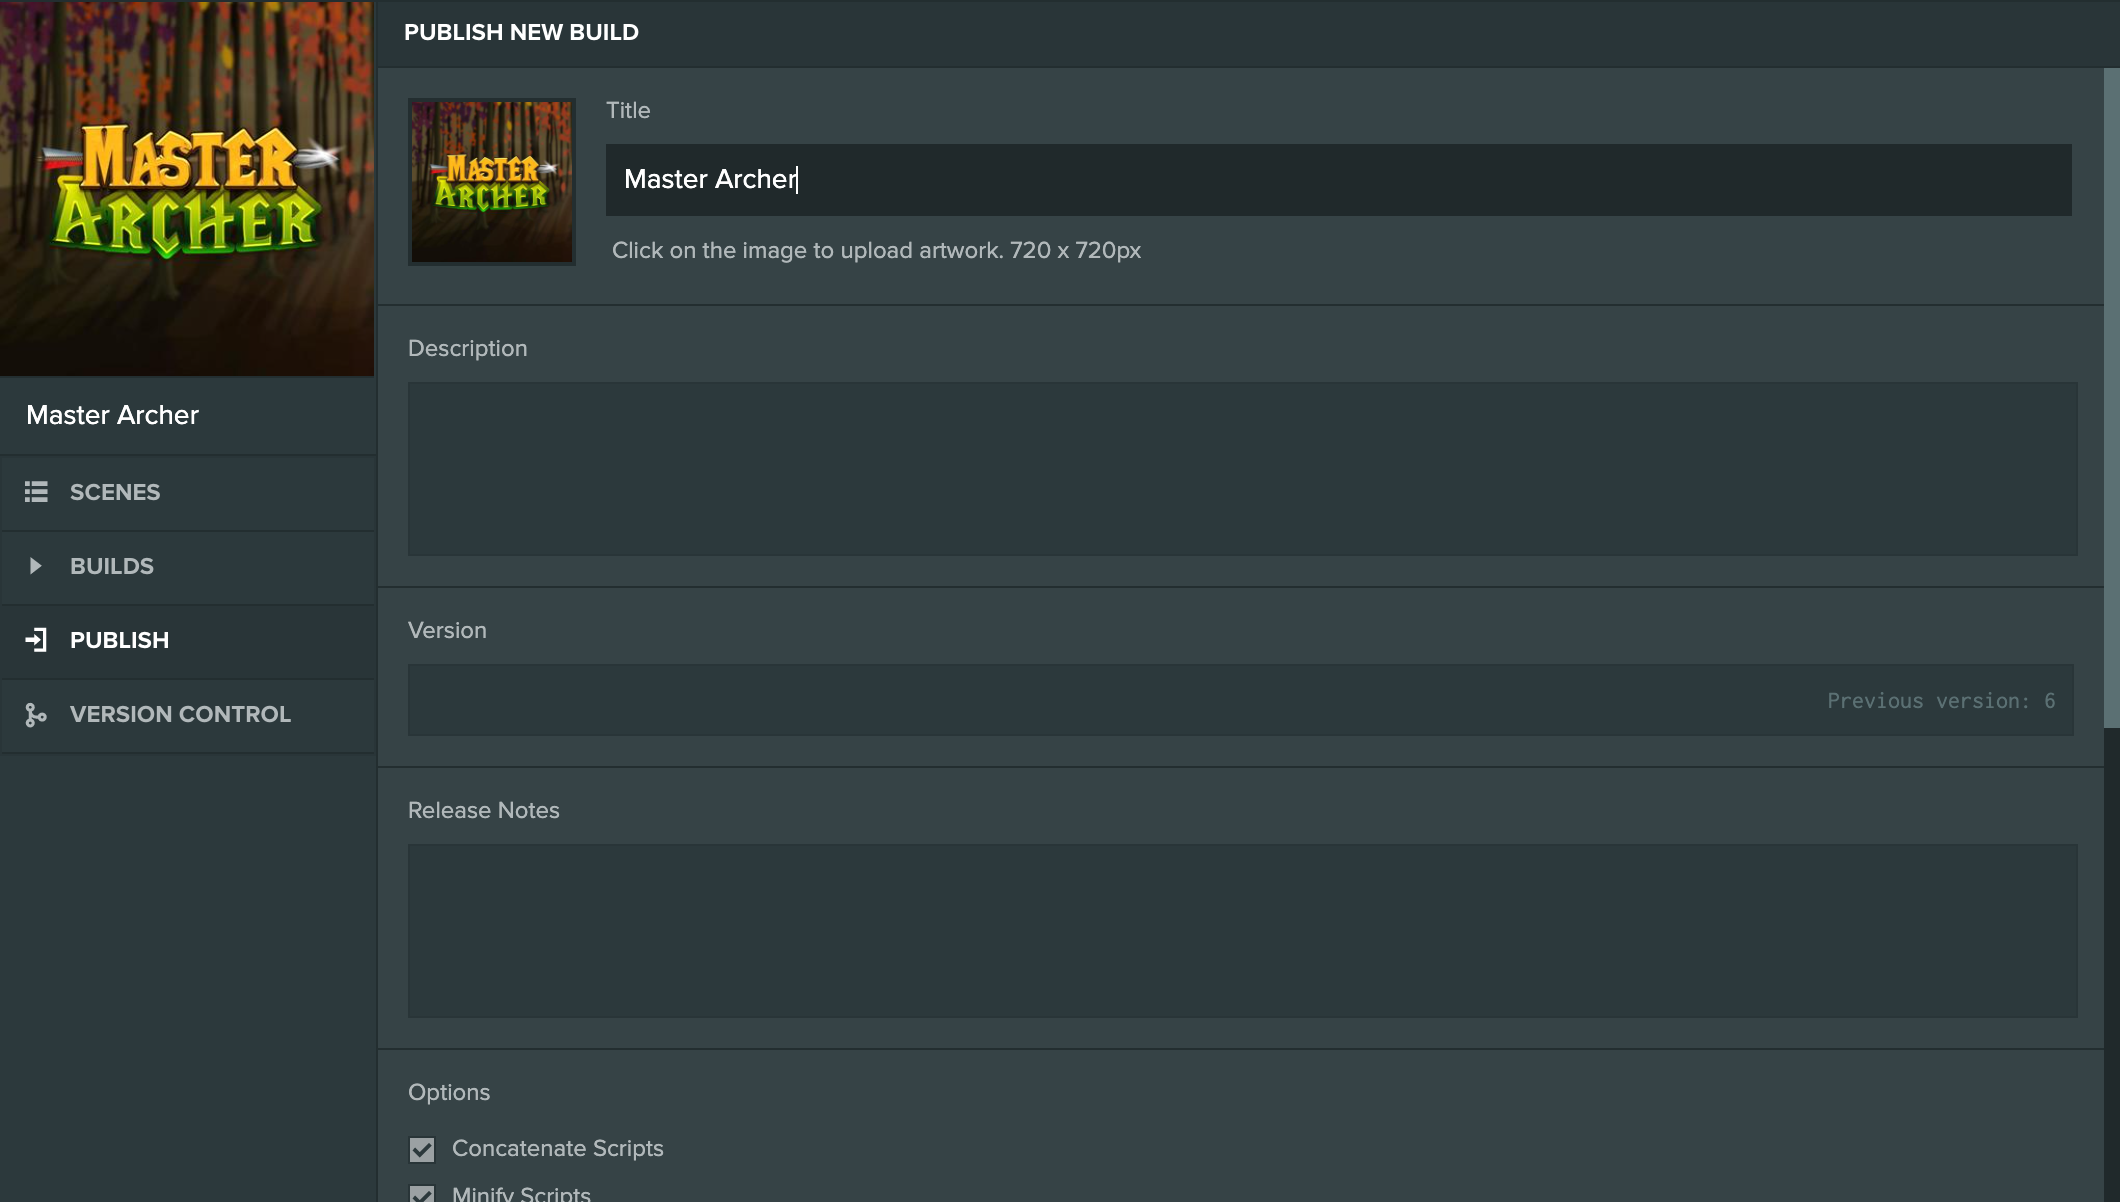
You will then have to fill out some details about your new build. The available fields are:
- Image: Click on the image to upload a different one if you want. This will be used when sharing the build on Social Media.
- Title: The title of your build.
- Description: The description of your build. This will be used when sharing the link of your build on Social Media.
- Version: The version is there to help you distinguish one build from another. Use a value that makes sense to you.
- Release Notes: Enter any new changes you made for this build. Again like the Version, this will only be shown to you so that you keep better track of your builds.
- Concatenate Scripts: Check this to combine all of your PlayCanvas scripts into a single JavaScript file.
- Minify Scripts: Check this to minify your PlayCanvas scripts to reduce the file size.
- Generate Source Map: Include Source Maps with the build. This can be useful for debugging but is generally disabled when publishing a production version of your app.
- Optimize Scene Format: Compresses the scene JSON up to 50%. Read more here.
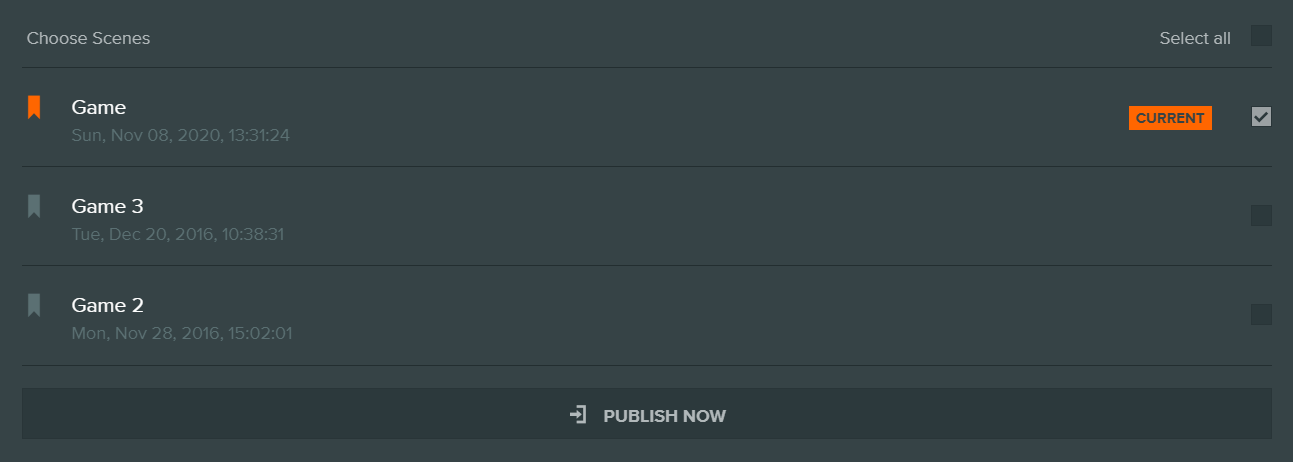
- Select the Scenes you want to include in your build from the list. Notice that the Scene with the active banner icon will be loaded first when your build is launched if you include it in the build.
- Click 'PUBLISH NOW'
- You will see a new build created in the BUILDS tab. Wait until it finishes processing.
- Your web app is now live! Feel free to tweet it and share to Facebook right from the published URL.
Builds are given permanent link in the form https://playcanv.as/b/BUILD_ID/. This link will be valid until you delete the build. If
you want to share a link to your game, you should probably use the published project link explained below.
Selecting a Primary Build
Click Builds on the same popup.
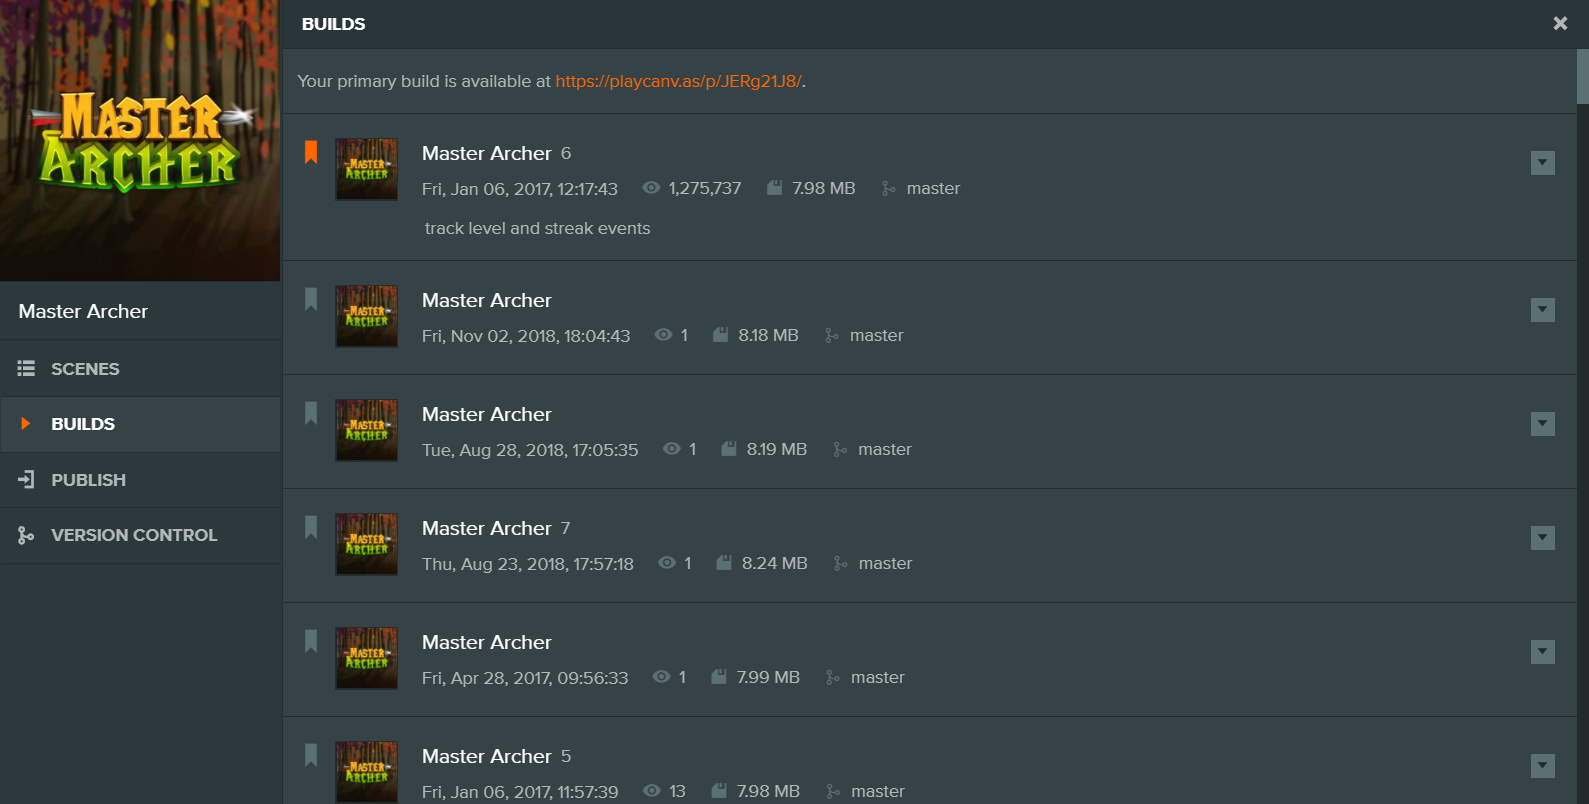
Here you can see a list of existing published builds.
You can also set the Primary Build for your project, by clicking on the banner icon on the left of each build. This will be the build that users play when they click on the PLAY button on the project's home page.
It's useful to have a single link that will always refer to the latest version of your game. That way you don't have to worry about
broken links when you delete old builds. This is why each project has a Primary Build link. This will always be in the form
https://playcanv.as/p/PROJECT_ID/
The first time you publish a build, it will automatically become the Primary Build. For any subsequent build, you can choose when to assign it to be the Primary Build. This means that you can publish builds and test them before finally publishing them to your audience.