Apache Cordova
Apache Cordova is an open-source mobile development framework. It allows you to use standard web technologies - HTML5, CSS3, and JavaScript for cross-platform development. Applications execute within wrappers targeted to each platform, and rely on standards-compliant API bindings to access each device's capabilities such as sensors, data, network status, etc.
You can use Cordova to natively wrap your PlayCanvas app. You can then publish it to the iOS App Store and Android's Google Play. Cordova can also generate executables compatible with macOS and Windows.
Installing Cordova
To get started, follow the instructions for installing Cordova on your computer.
Creating a Project
To create a project, issue the following command:
cordova create hello com.example.hello HelloWorld
hello is the folder in which the project is created. com.example.hello is the reverse domain-style identifier for your
app. HelloWorld is the human readable title of your app (it is the name of the generated app icon, for example).
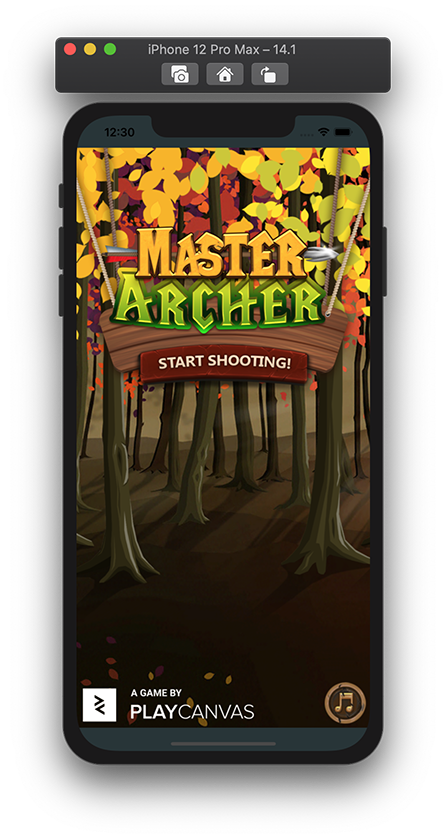
So, for a game like Master Archer, an appropriate command would be:
cordova create masterarcher com.playcanvas.masterarcher "Master Archer"
Once your project is created, you will find a file called config.xml in the project's root folder. Here you can configure or
edit certain characteristics of your app. For example, you can optionally set up custom icons for your app, either
globally or per-platform.
Adding your PlayCanvas App
When you create a new Cordova project, it generates a skeleton web app in a folder called www. You can go ahead and delete
everything in the www folder. Next, copy your PlayCanvas app files to this location.
If you're building on the Engine without the Editor, copy your app files into www such that your index.html file is
in the root.
If you have built your app in the PlayCanvas Editor, we have an official external tool that will build and prepare the project to be most compatible with Cordova. This includes automating tasks such as converting the audio files to Base64 so that they can be loaded on iOS.
The official external tool can be found on GitHub here.
Follow the setup steps from the readme in the GitHub repo.
And run the command for the Cordova Publish script as shown in the readme.
This will create a ZIP of the project ready for Cordova. Extract its contents to the root of the www folder.
Building Executables
You are now ready to build your app for any of the platforms supported by Cordova.
Building for iOS
Building for iOS is limited to macOS based computers. You must also ensure you have Xcode installed. You can install it from the Mac App Store.
To build your app for iOS, add the Cordova iOS platform to your project. From the root of your project, issue the command:
cordova platform add ios
Ensure that the version is 6.0.0 or higher. This is because version 6.0.0 upgraded the wrapper to use WKWebView instead
of UIWebView, which bring better performance. Read more on Cordova's blog.
By default, if you attempt to run a Cordova-based PlayCanvas app, you will encounter several errors/exceptions related to cross-origin HTTP
requests. To fix this, add the following to your project's config.xml:
    <platform name="ios">
        <!-- Add these two lines... -->
        <preference name="scheme" value="app" />
        <preference name="hostname" value="localhost" />

        <!-- ...alongside whatever already exists in this section -->
    </platform>
Testing for iOS
You are now ready to test your app. For iOS, you can use Simulator or run on a physical iOS device. Simulator is installed as part the Xcode tools, runs on your Mac and simulates the various iOS based devices. To run your app in Simulator, issue the following command:
cordova run ios
Once the executable has been generated in the build process, Simulator will start and load it. You should see something like the following:
To run on a physical device:
- Connect your iOS device to your Mac via USB.
- Open
platforms/ios/<my-project-name>.xcworkspacein Xcode. - Navigate to the Signing & Capabilities settings for your project's Target and select a valid Team so that your app can be digitally signed before being deployed to your device.
- Select your iOS device in Xcode's Scheme drop-down list.

- Press the Run button to build, deploy and run the application on your device.

Once you are happy with your app, you can ship it to App Store Connect.