Material
Every surface on a 3D model is rendered using a material. The material defines the properties of that surface, such as its color, shininess, bumpiness.
In PlayCanvas, a material is an Asset type which collects all these properties together. By default, it represents a Physical material. This exposes the fundamental properties that can be used to create many different types for visual effects, from smooth plastic, to rough wood, or scratched metal.
We also support our old Phong Material type.
Importing Materials
Materials are imported automatically when you upload a 3D model (e.g. FBX or COLLADA) file into PlayCanvas. Materials will be generated with the same properties as they exist in your 3D modelling tool. If you upload using embedded media (FBX only) all the relevant texture maps will be automatically set up for you.
Creating New Materials
You can create new materials directly from the PlayCanvas Editor interface.
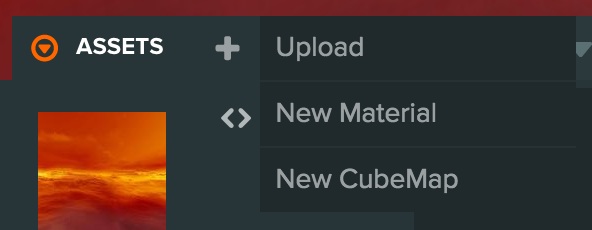
This creates a new material Asset and opens up the material inspector on the right-hand side of the screen.
Selecting a Material
In order to edit a material, first you must select it. This will bring up the material inspector.
You can select a material in the asset panel. You can also select materials from the model inspector or from the model component.
Generally, clicking on a material preview icon will take you to the material inspector.
Assigning Materials
You can modify which materials are assigned to where on a model asset or you can customize the materials of a particular Entity that has a model component.
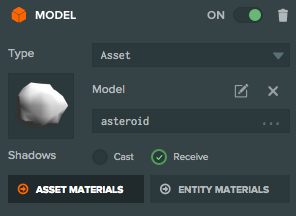
When you select an Entity with a model component you will see two buttons - Asset Materials and Entity Materials.
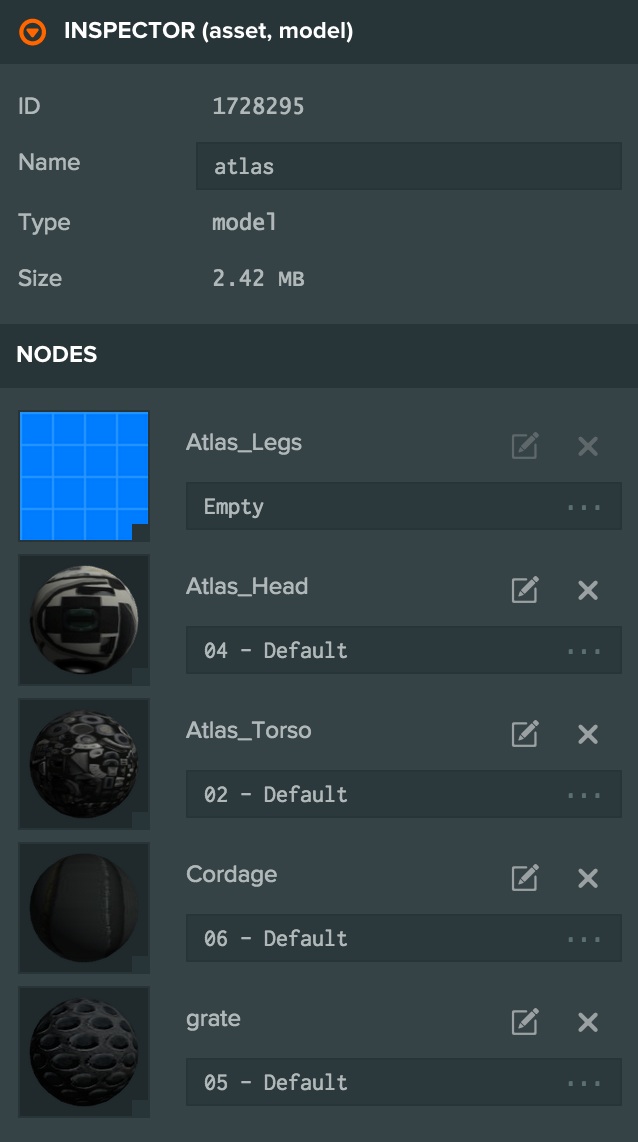
Clicking on Asset Materials will select the model asset. You can also select the model asset from the asset panel. The model inspector will show the meshes of model and which material is assigned to each. You can clear a material using the X button, and click the empty slot to assign a new material.
You can also drag and drop material Assets from the asset panel onto the material slot.
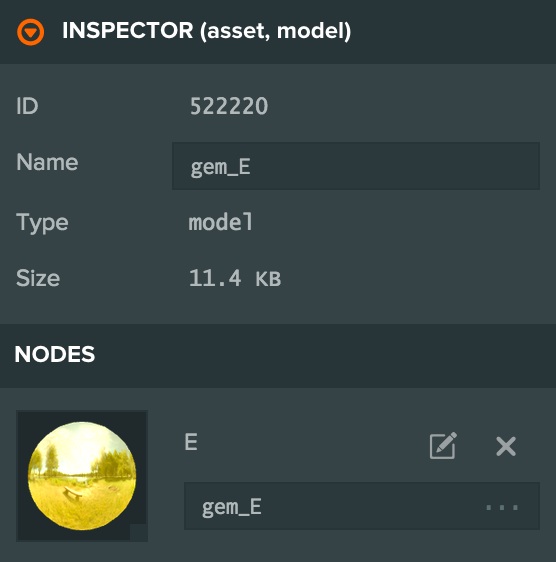
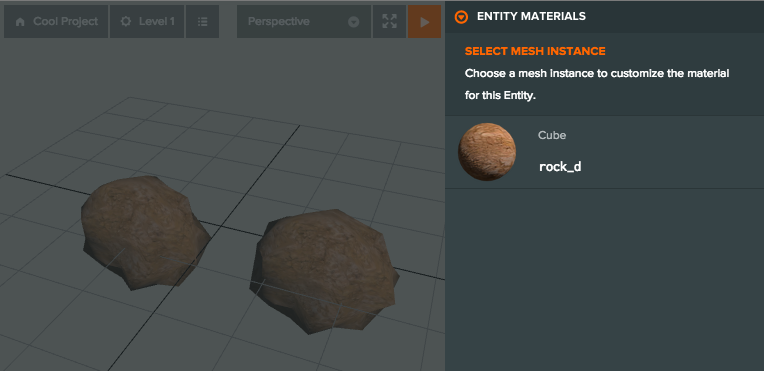
Clicking on Entity Materials will first ask you to select the mesh instance for which you want to customize the material:
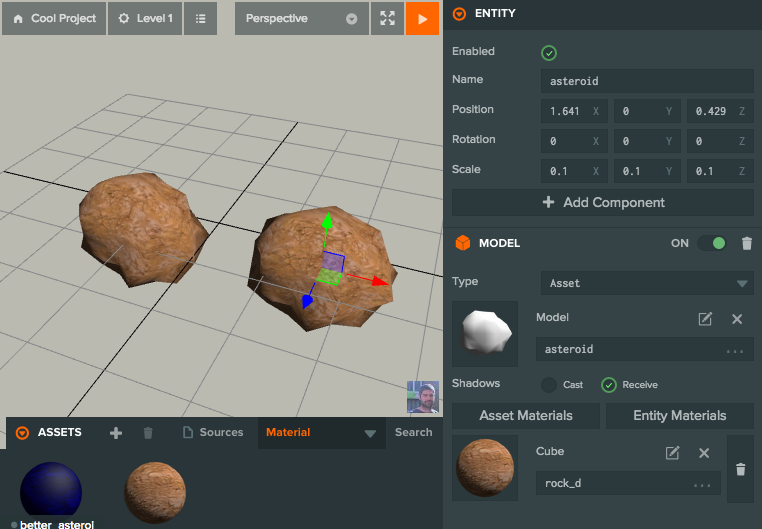
After selecting the mesh instance a new material picker will appear in the model component:
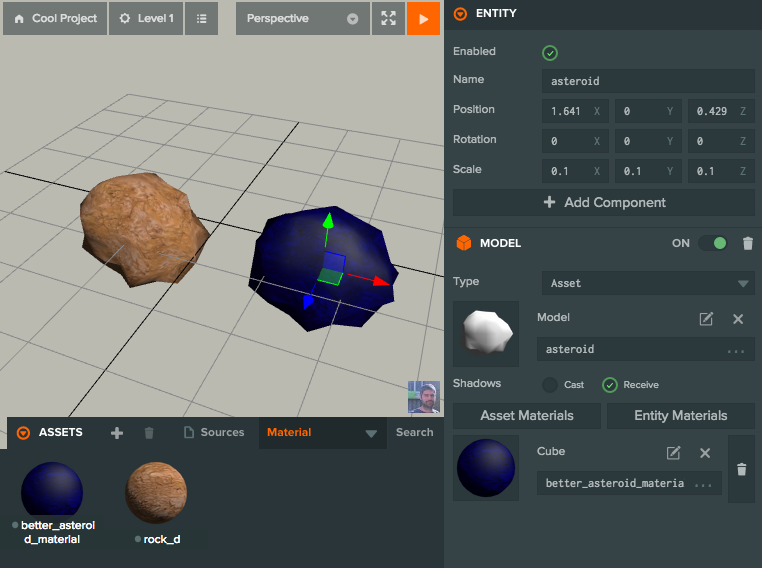
Then you can select a different material for this particular Entity:
Editing a Material

Once you have a material selected you can edit its properties.
The Editor supports to types of material 'Shading Model', this is defined in a drop-down at the top of the material inspector.
Physical
The physical shading model is our most advanced shading model. This is the model for PlayCanvas's Physically Based Renderer (PBR).
Phong
The phong shading model is our legacy shading model. Use this for compatibility reasons.
Material Maps
Much of editing a material involves creating and assigning textures maps to the various slots detailed on the pages above.
There are a few options that are available on most texture map slots for a material.
Texture Asset
First is the texture asset, upload an image to PlayCanvas and we'll create a texture asset for you. you can assign this to a slot on a material.
Color or Tint Color
Some map slots can be a flat color instead of a texture map. Some slots also support a tint color if a texture is also assigned. If enabled the tint color is multiplied by the color in the texture map slot.
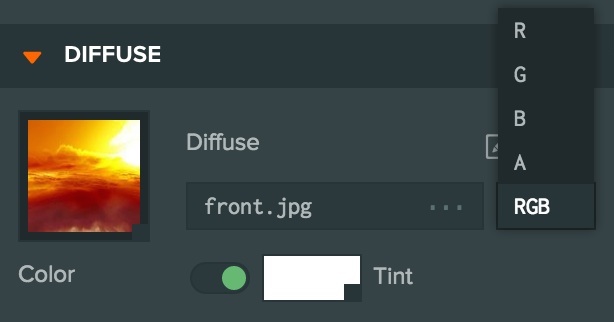
Channel
Some maps only require a single grayscale value e.g. 0.0 -> 1.0. In this case it is possible to select which channel of the texture to use. RGB means that all three channels are used. R, G or B means that only the red, green or blue channel will be used.