Importing your first Model and Animation
Overview
In this tutorial, we will be taking you through adding your first animated model to your project as you can see here.
Getting our example assets
For this, we will be using Kenney's Animated Characters assets pack which can be downloaded from their site.
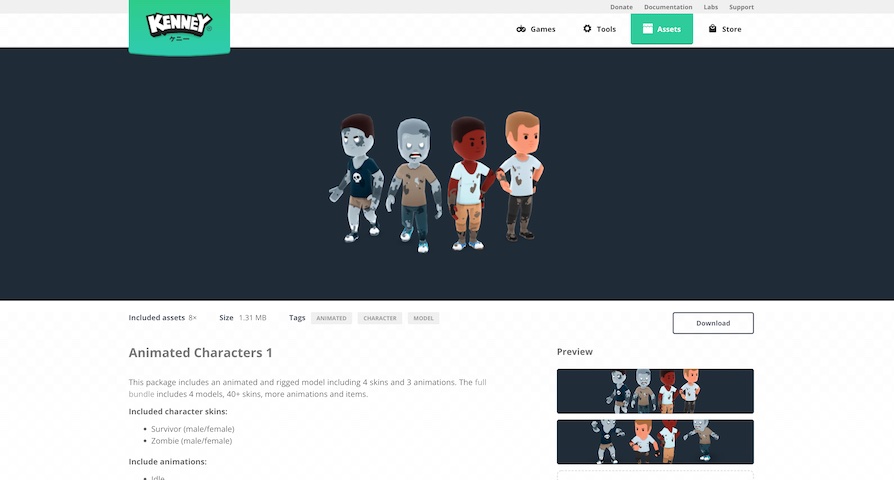
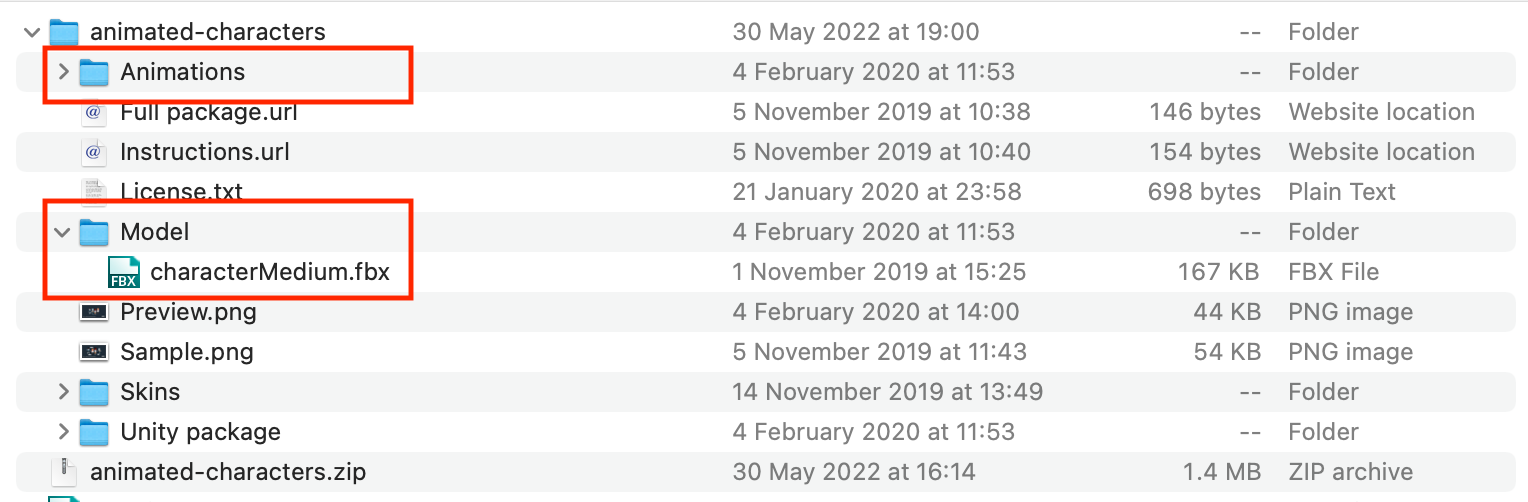
After downloading, unzip the file and let's have a look at the contents.
They've split the model and animation files from each other which is perfect for us.
Importing the model FBX
We are interested in the model file to begin with.
Let's open the model folder and drag the FBX file into our project assets panel.
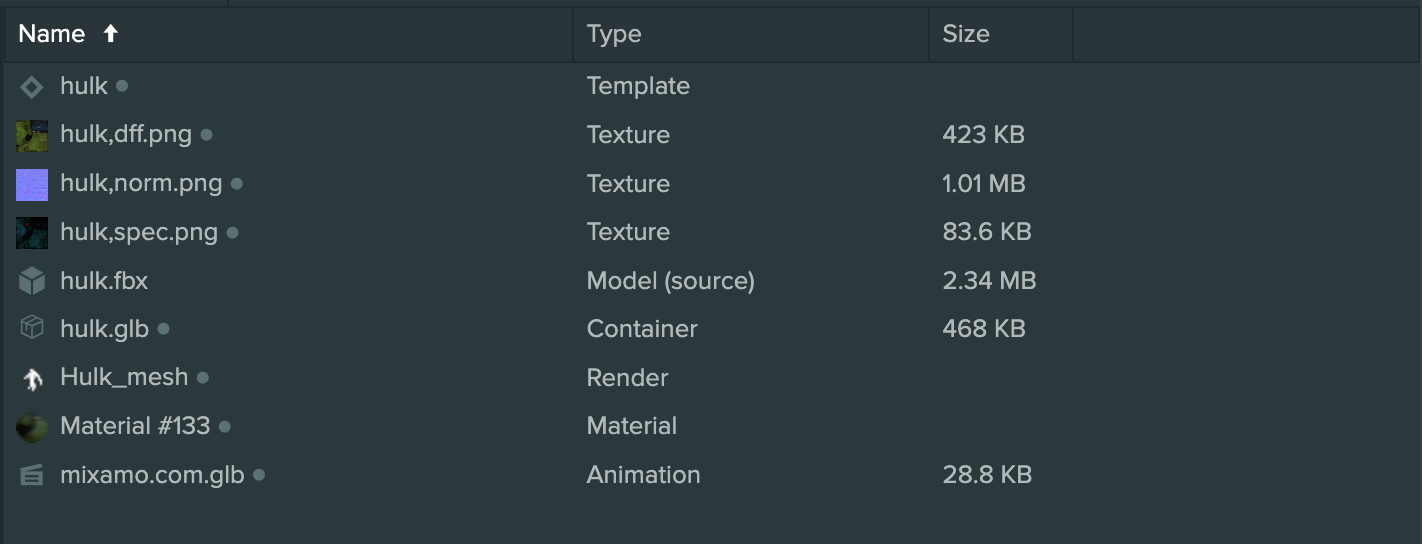
This will import the file into our project and the PlayCanvas Editor will create materials, container, render assets and most importantly, a template asset.
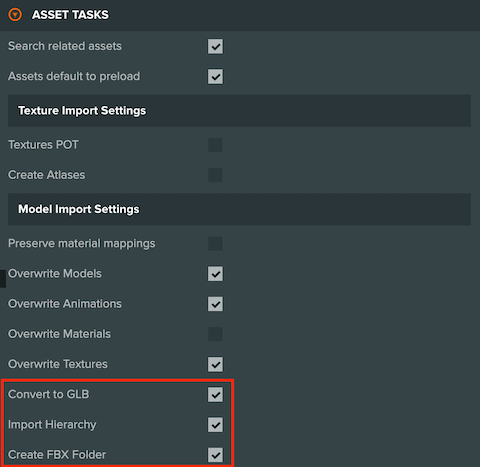
If you are importing FBXs into an existing project, please make sure you have the following settings ticked in the Project Settings -> Asset Tasks.
Adding the model Template to the scene
The template asset (known as prefabs in other game engines) contains the full Entity hierarchy and is used to add the model to the scene.
We can do this multiple ways:
Dragging it into the 3D viewport will add it as a child of the currently selected Entity.
Dragging it onto an Entity in the hierarchy view will add it as a child of that Entity.
Dragging it into the empty area of the hierarchy view will add it as child of the topmost Entity in the scene.

And finally we have the Template context menu options when right clicking on an Entity.
Now that we have it in the scene, we can see it's untextured. In this case, the textures were not embedded into the FBX file and have been supplied separately.
If they were embedded in the FBX, the import process would also create texture assets and assign them to the correct materials.
You can see the texture assets being created here and also the materials with textures assigned to them.
Adding the texture to the model
Back to our Kenney Character. Let's upload one of the textures from the skins folder and apply that to the material of the model.
We can do this by either dragging the texture asset to the material slot.
Or we can use the 'edit' button on the material slot and find it in the assets panel.
Fantastic! We now have a fully textured model in the scene, ready to be animated.
Importing the animation FBX
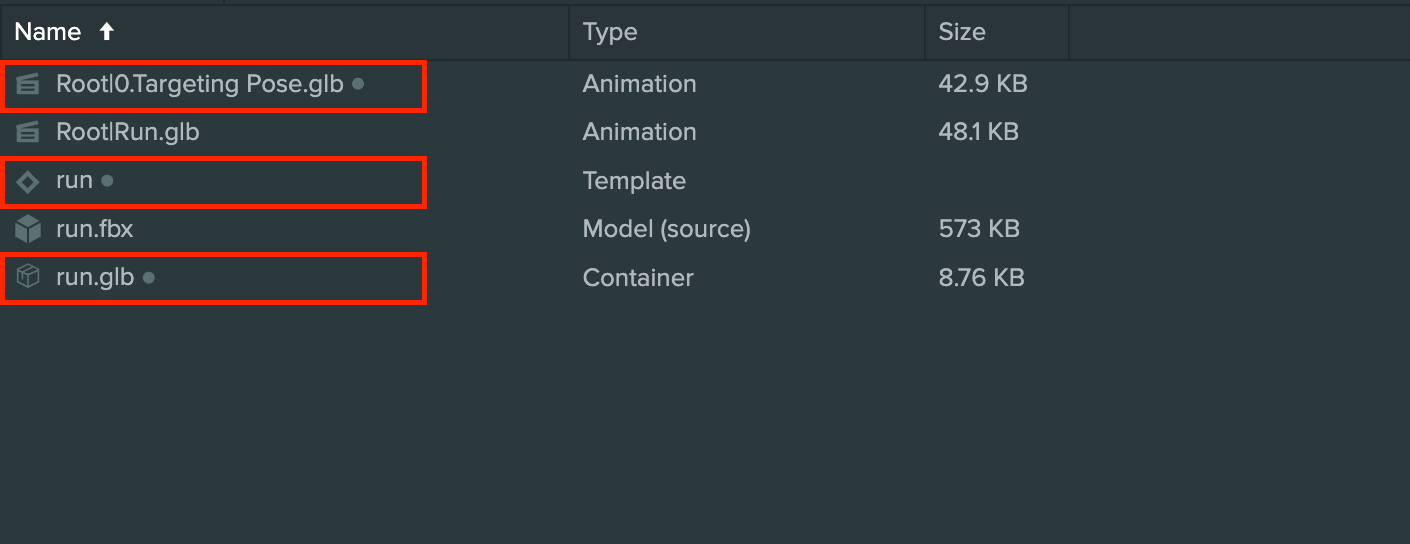
As mentioned earlier, the animations are in a separate FBX so let's import the run animation into the Editor.
This will create a number of assets which includes the animations. As that's all we need, we can delete the other assets that were created.
From here, we can preview the animation by selecting it in the assets panel and in the inspector. We will also need to select a preview asset to apply the animation to. In this case, it will be the template asset created for the model FBX imported earlier.
Animating the model
To add the animation to the character, we need to use the Anim Component on the Entity and also create an Anim State Graph asset.
The Anim State Graph asset is created by right clicking in the assets panel and selecting 'New Asset' -> 'Anim State Graph'.
The graph asset can have multiple states and each state can be assigned an animation. The flow between the states are controlled by transitions with conditions.

For the purposes of this tutorial, we will just be focusing on a single state and single animation. More documentation and tutorials for animation can be found here.
To add the graph to our model, we select the template Entity instance in the scene and add an Anim Component in the inspector.
In the Anim Component, we assign it our Anim State Graph asset and the states in the graph will appear in the component. Here, we can assign the animation asset to the state and launch the project.
And that's it! We've successfully imported our first model and looping animation into PlayCanvas!